In our previous post, we walked through the process of successfully installing Cert-Manager to handle SSL certificate assignments for all ingresses. While advantageous, this approach comes with a few noteworthy challenges:
- Limited validity period: Certificates provided by Cert-Manager are valid for a short period (90 days), meaning any third-party systems utilizing the services may need to update their certificate whitelist every 90 days.
- Inappropriate for production environments: Certificates provided by Let’s Encrypt, while useful, may not be suitable for production environments.
- Opening Port 80: To validate and issue the certificate, Cert-Manager requires the use of insecure HTTP on port 80 during the process. However, if for any reason, the infrastructure team is reluctant to expose port 80 to the internet, then the operation of Cert-Manager may be compromised.
- Potential Cert-Manager failures: There can be instances where Cert-Manager encounters issues and fails to renew the certificate. In such cases, third-party systems may be unable to access our service due to failed certificate verification.
By understanding these issues, We’ll explore a better solution to replace the Cert-Manager with Cloudflare. More detailed information will follow in subsequent posts.
Cert-Manager Alternative
Cloudflare provides several valuable services:
-
Domain Management: Makes it simple to purchase, move, and control domain names. It centralised DNS record setup, subdomain management in once place.
-
Universal SSL (Free): Provides automatic secure HTTPS access to our website. This saves time from the need to buy and manage SSL certificates.
-
Advanced Certificate Manager: Perfect for businesses wanting more control over their SSL certificates. We can customize the certificates, including those for multiple subdomain levels.
-
Proxy: Sits between the website’s server and its visitors, with WAF enabled through proxy giving protection from threats like DDoS attacks and bots, while also enhancing performance. All requests appear to be coming from Cloudflare IP addresses, enabling us to enhance site security by just whitelisting Cloudflare IP Addresses.
Kickstart with Cloudflare
-
Before we get started, ensure that we have a Cloudflare account that can register for one, free of charge, here.
-
The next essential step is to onboard a Domain into Cloudflare’s management system. Rest assured, this process is straightforward and involves zero downtime.
-
For demonstration, I have onboarded my
drunkcoding.netto Cloudflare. Once a Domain is onboarded, it should resemble the following demonstration.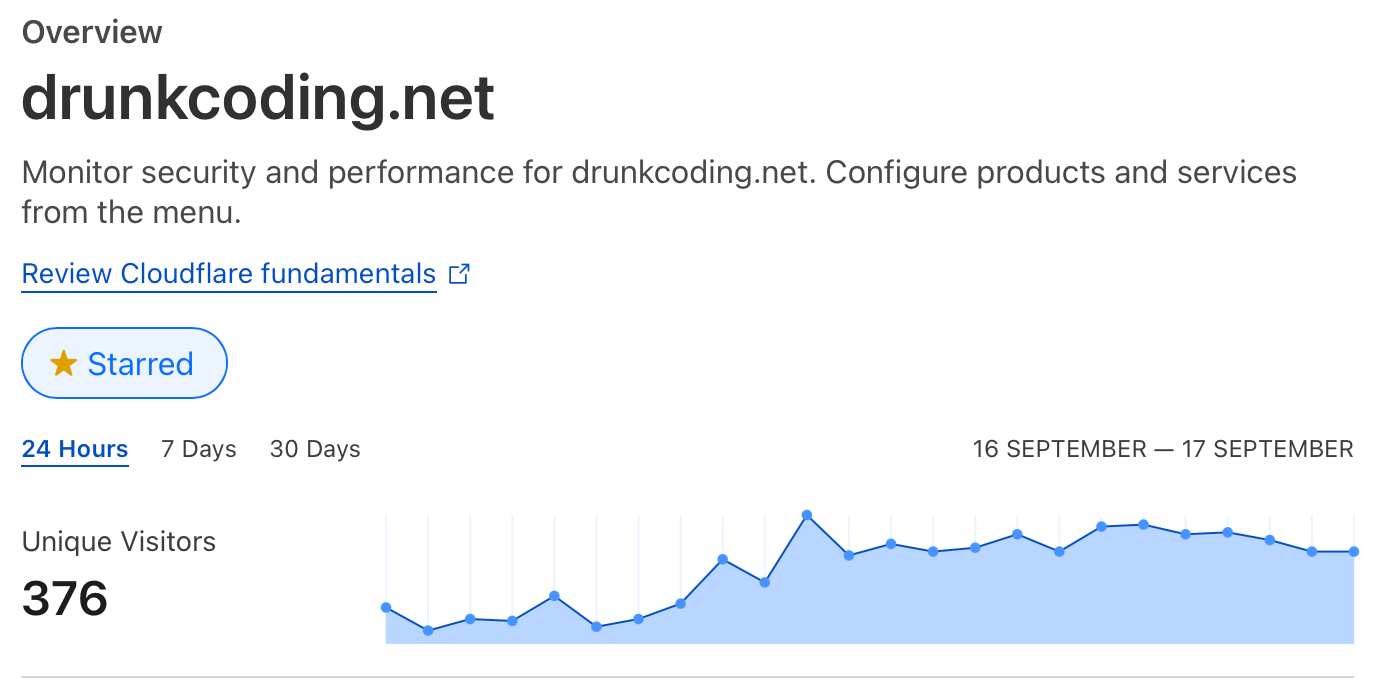
-
Moving forward to the DNS Records management, I have added an A record with the proxy option enabled, as shown below.
 Once set up, all requests to subdomains such as
 echo.drunkcoding.net,wiki.drunkcoding.net, etc., will be redirected to my public IP address. -
Next, under SSL/TLS, I created an Origin Server for the domains
drunkcoding.net and *.drunkcoding.netand chose the certificate validity from 7 days to 15 years.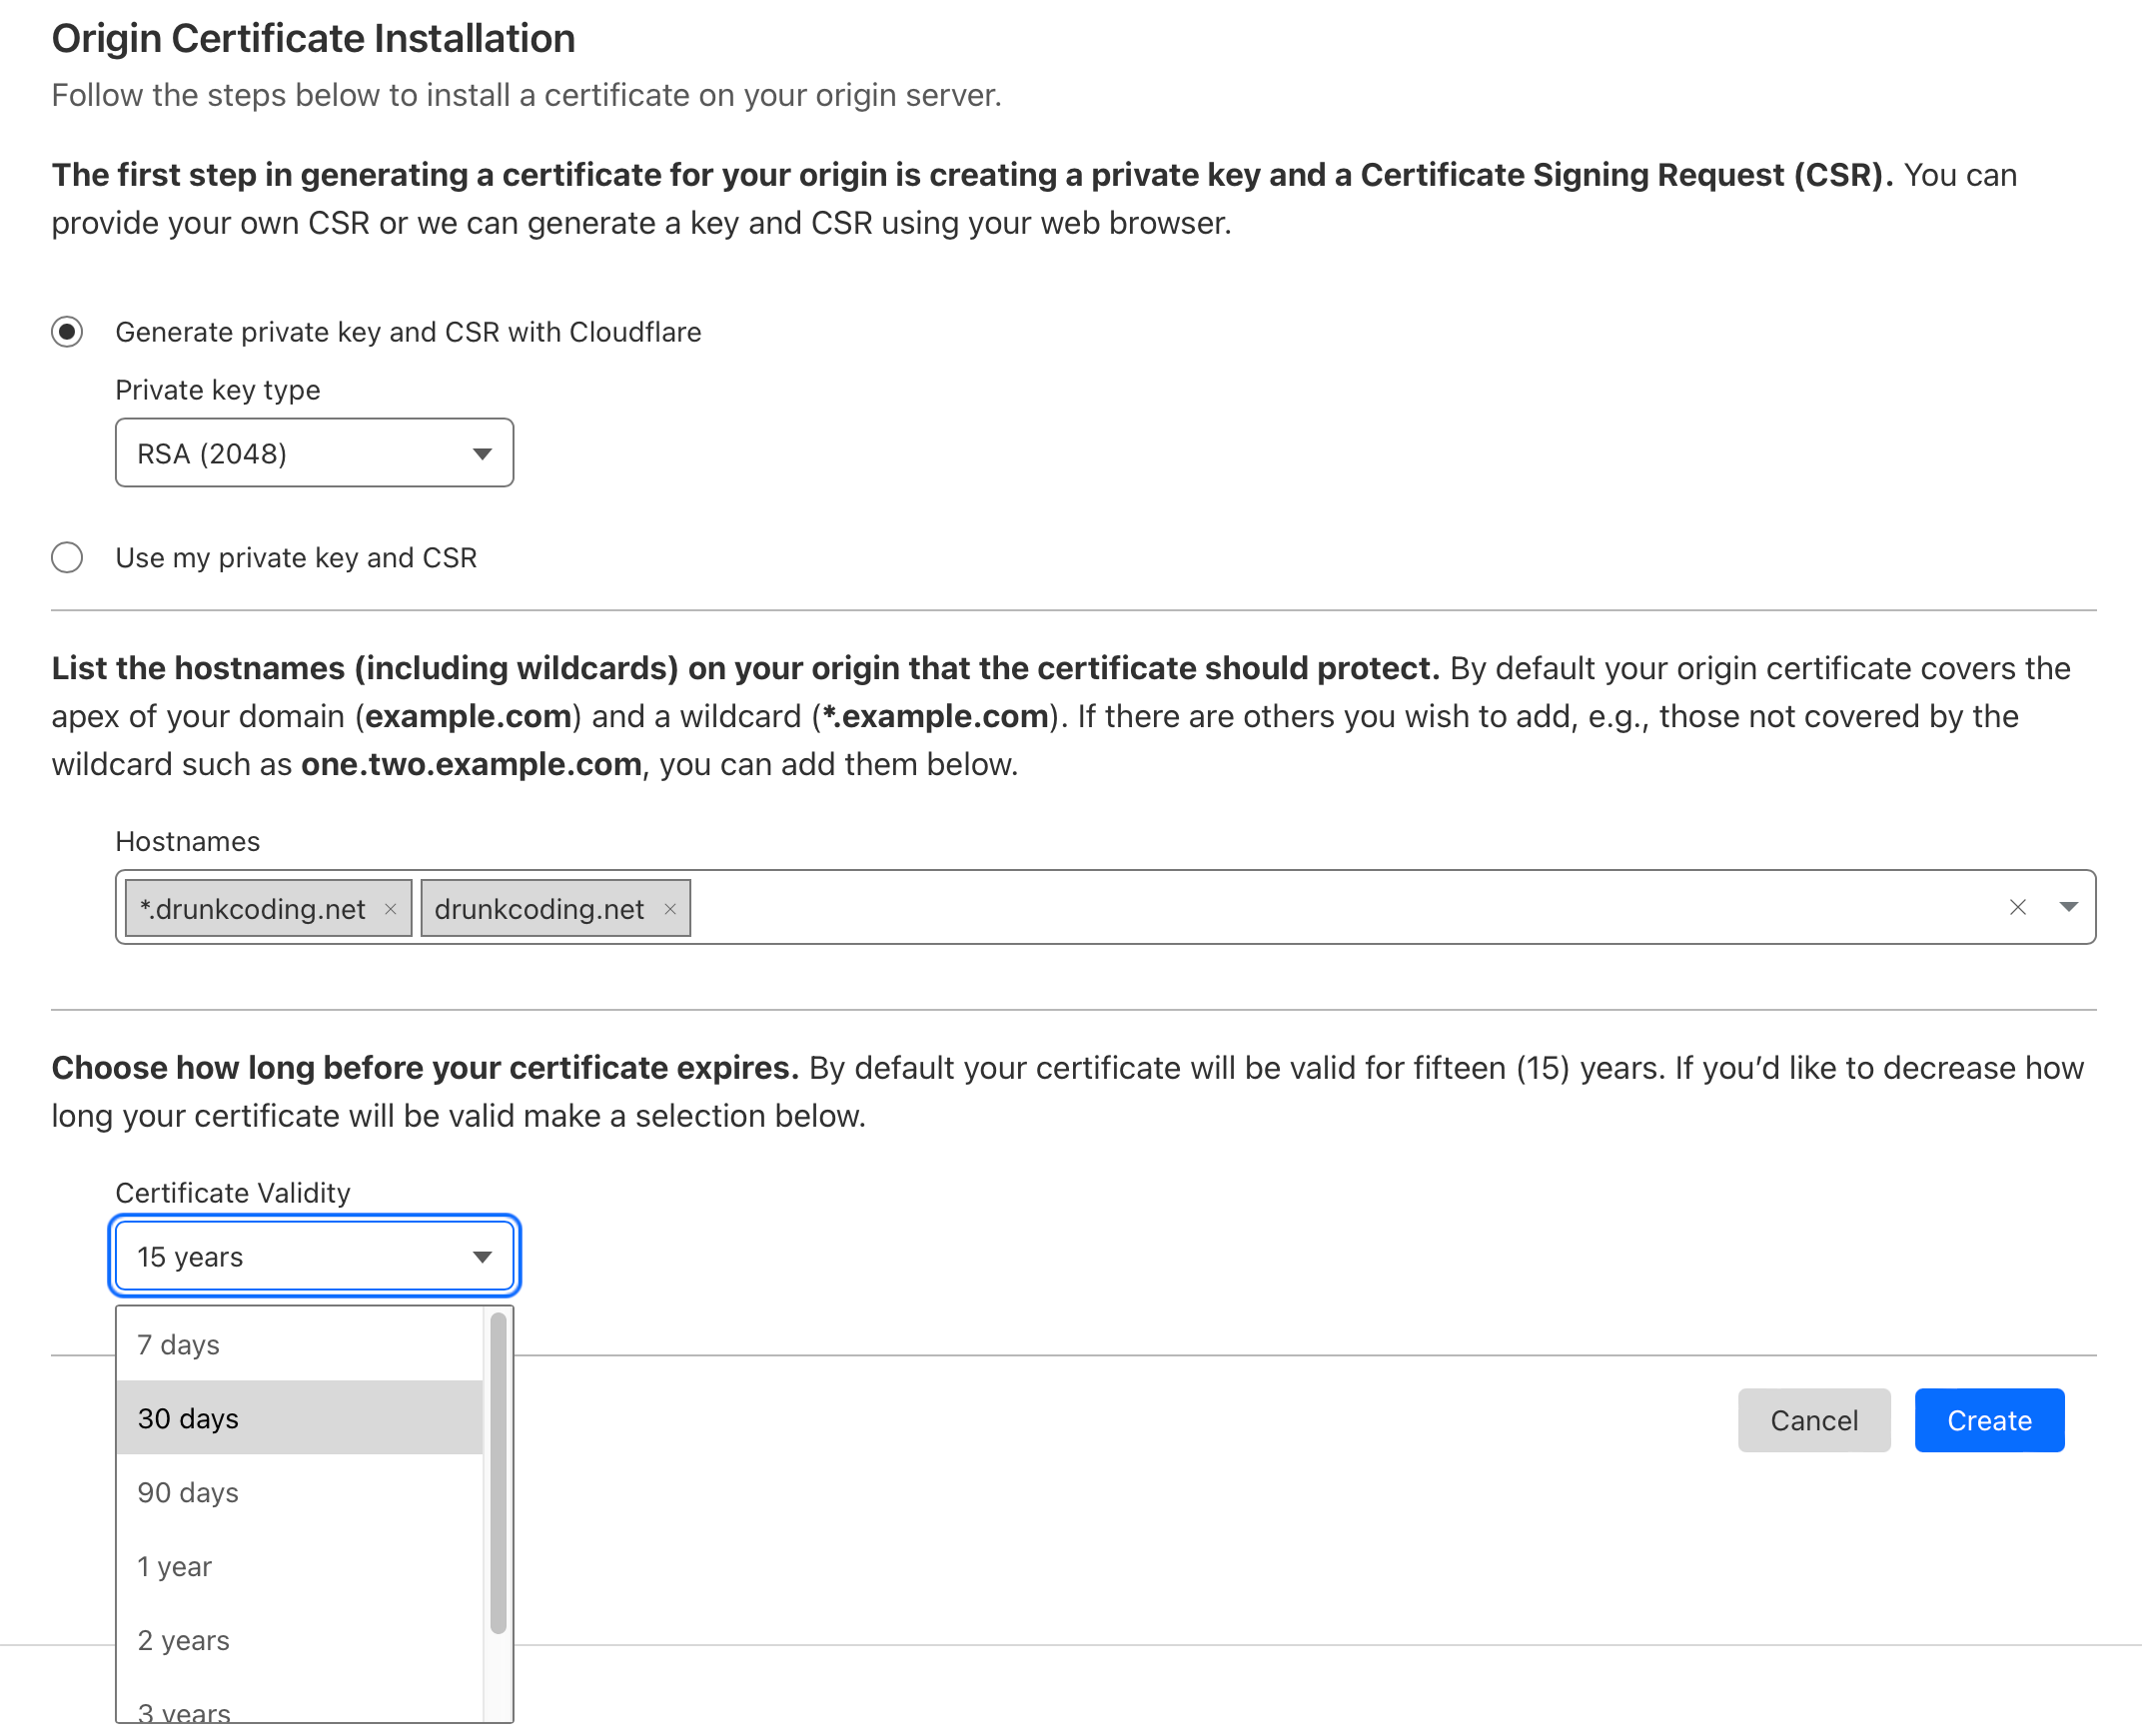 After setting this up, please ensure to download the certificate and private key immediately and save it to local files as we won’t be able to access the private key in the future.
 -
Following this, download the Cloudflare Root CA certificate from here.
-
Once all the above steps are complete, we should have the following three files:
cert.crt: This public key certification is in PEM format.private.key: This private key of the certificate is also in PEM format.Root CA: This root CA certificate is also in PEM format.
-
Switch the SSL/TLS encryption mode of the domain to
Full (strict)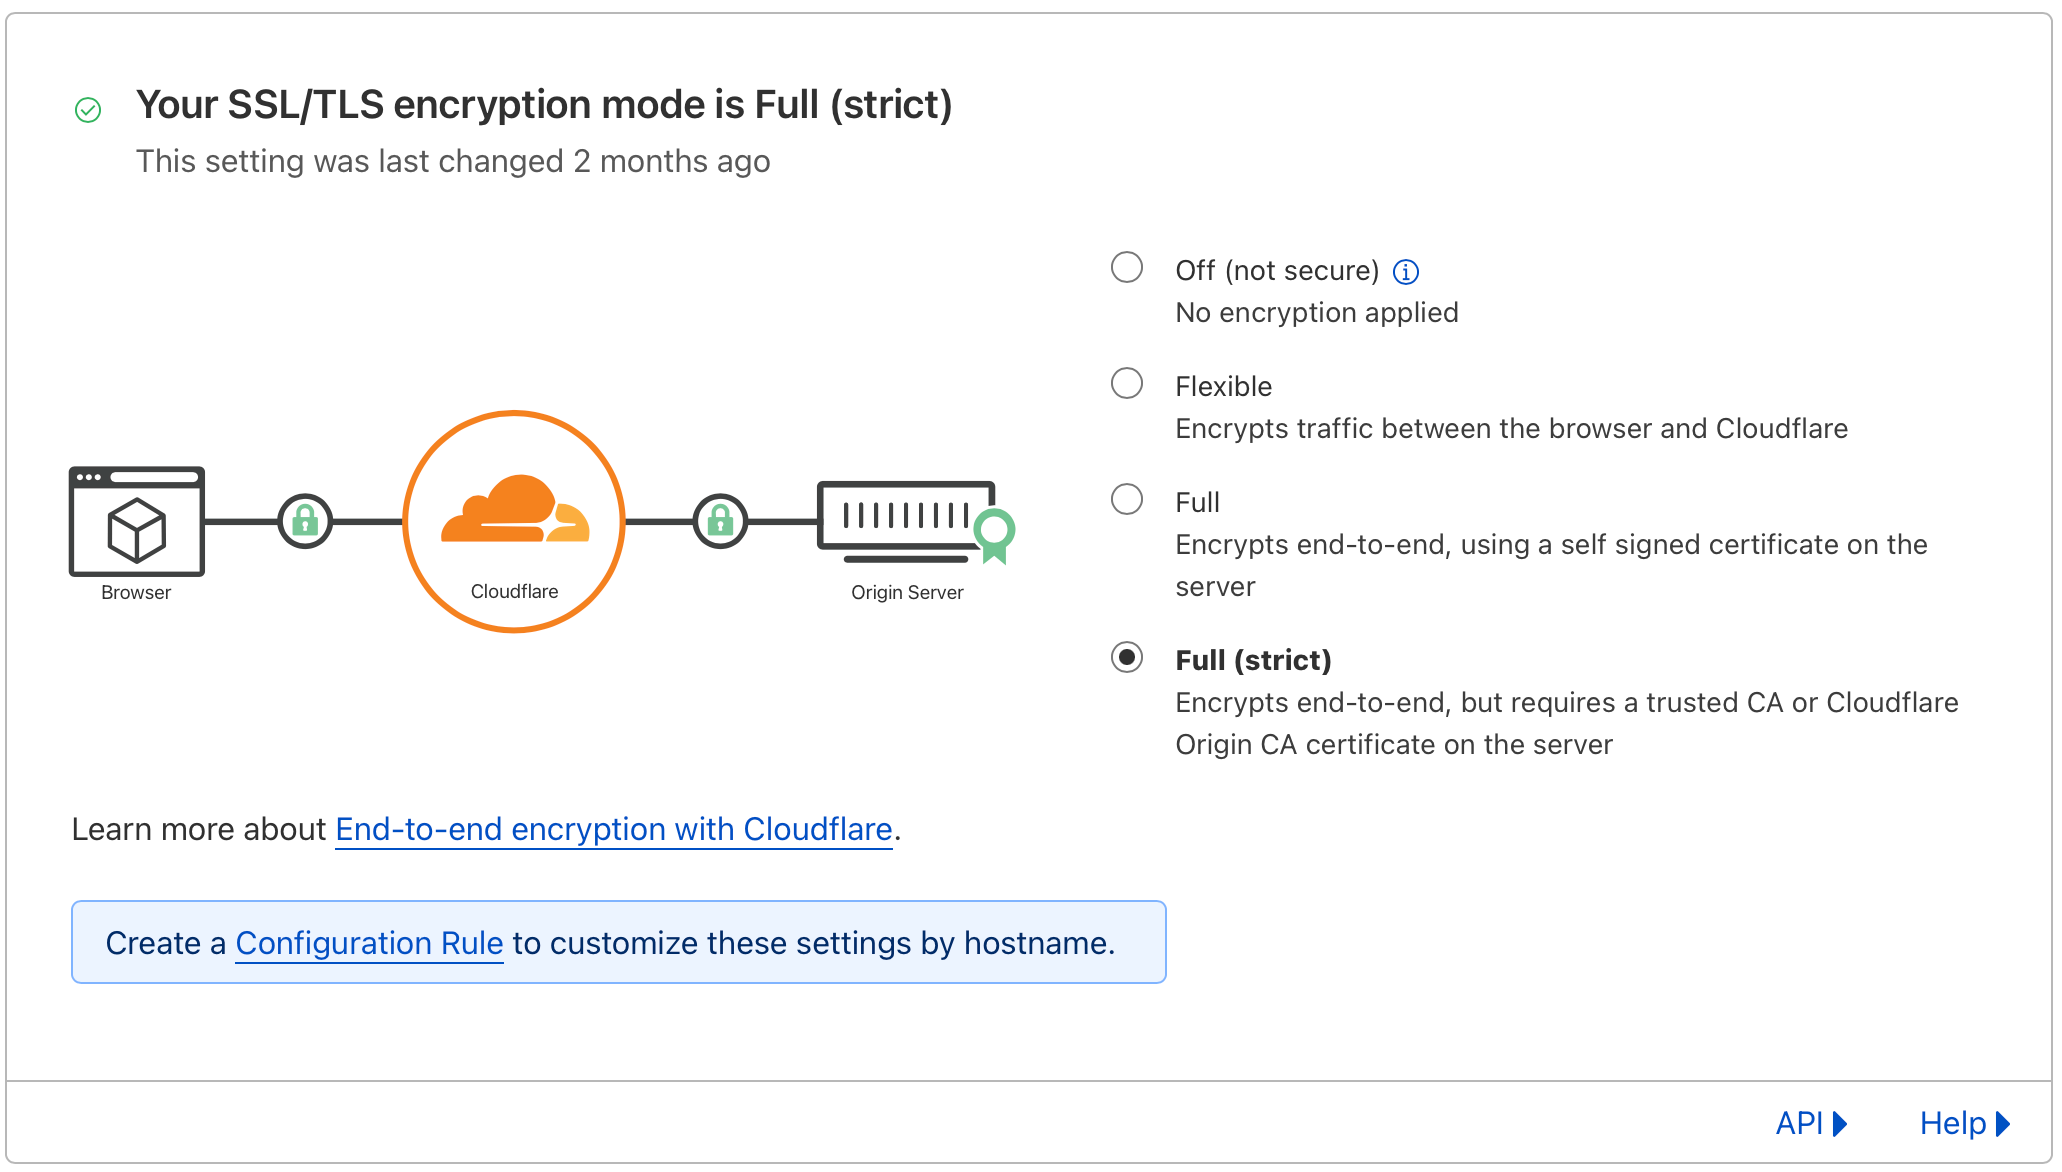
Cloudflare Certificate Installation
- Certificate preparation:
Before to proceeding, it is necessary to append the contents of the Root CA file to the cert.crt file, as illustrated in the following example:
-----BEGIN CERTIFICATE-----
    Content of cert.crt file here
-----END CERTIFICATE-----
-----BEGIN CERTIFICATE-----
    Content of ca file here
-----END CERTIFICATE------ Create a secret certificate on kubernetes:
Update the name based on your naming convention. In this context, we’re using tls as the prefix and import as the suffix.
This denotes that it’s a TLS certificate secret imported from a third party, as opposed to being auto-generated by Cert-Manager.
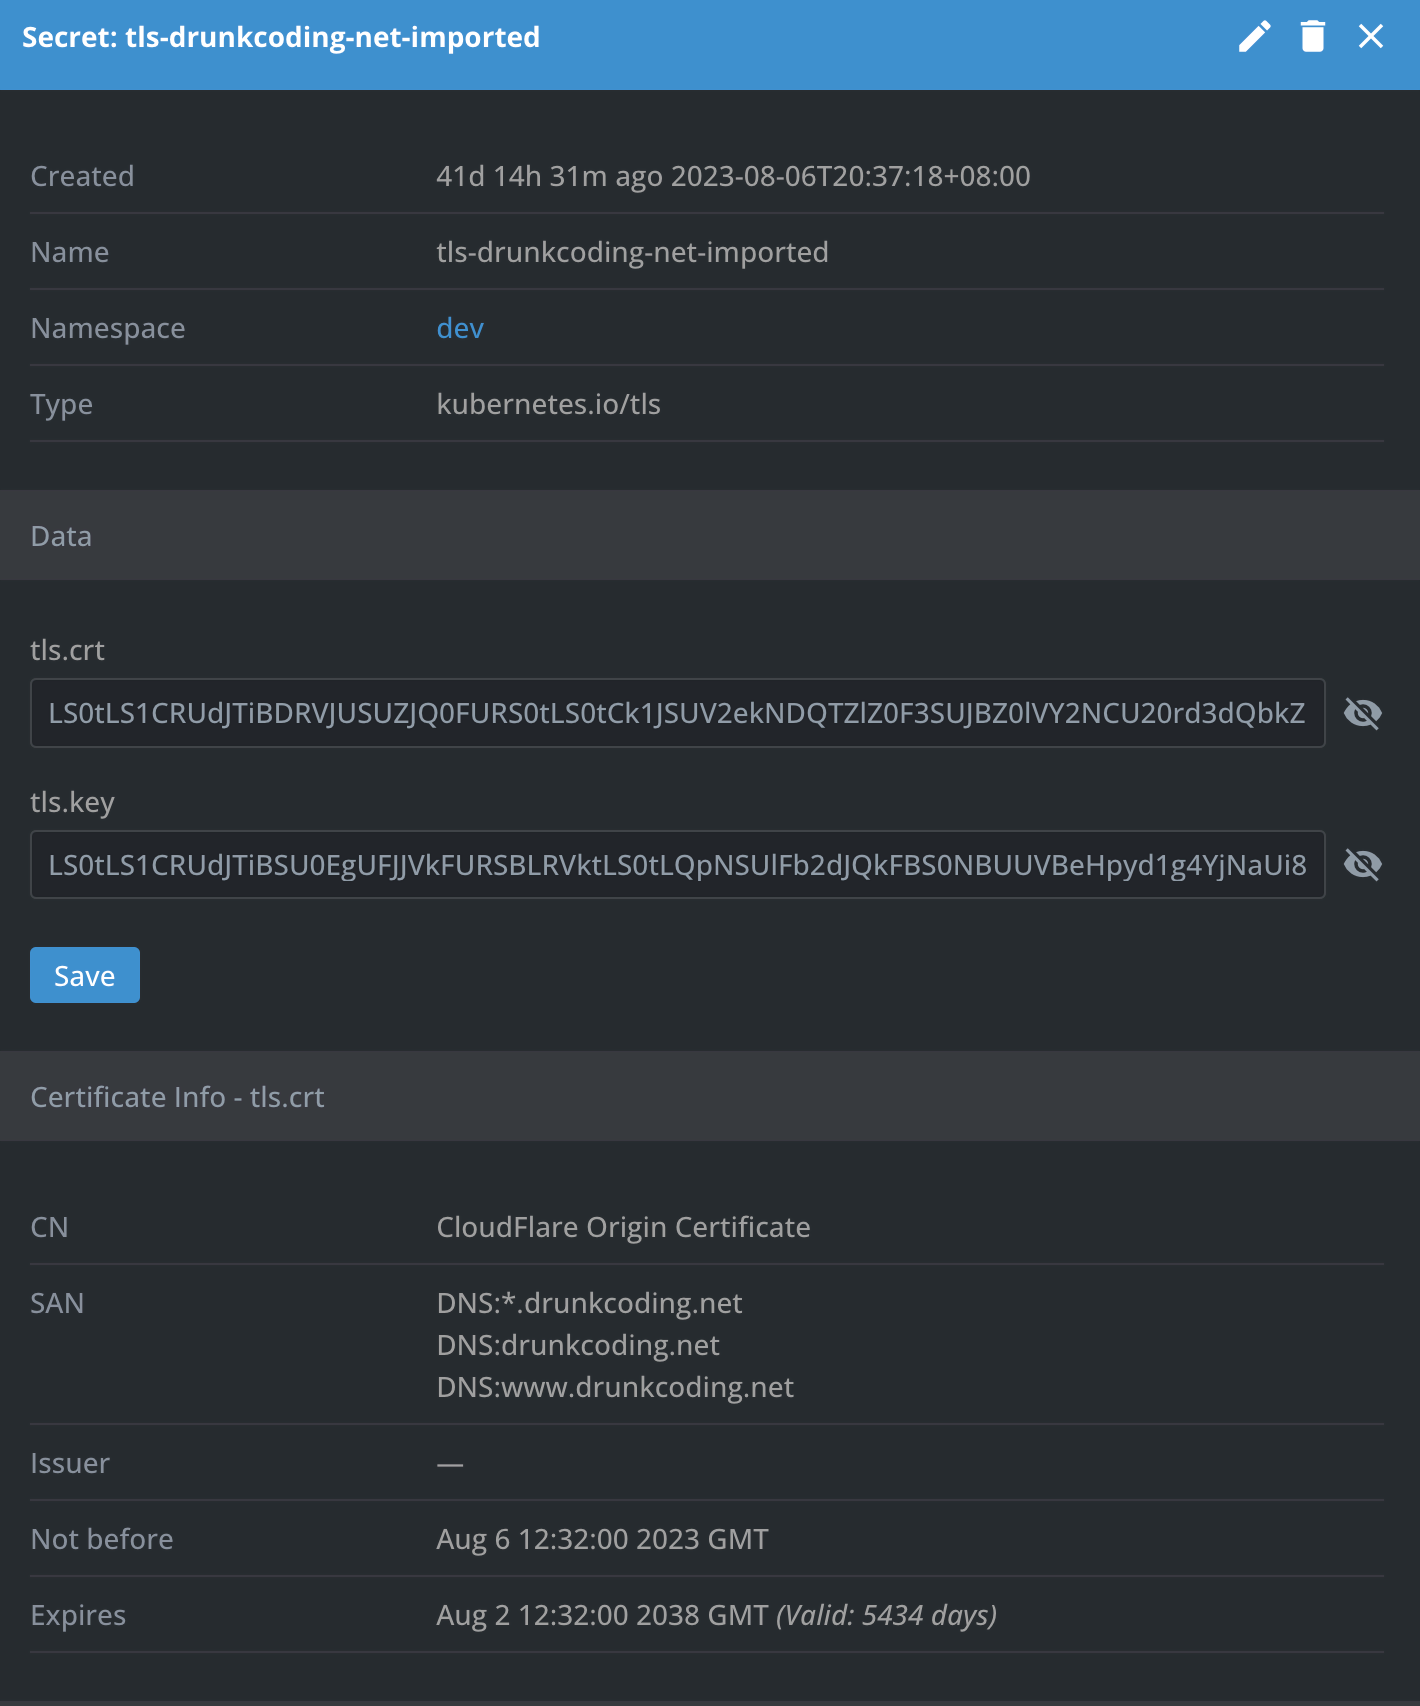
kubectl create secret tls tls-drunkcoding-net-import --cert=cert.crt --key=private.key --namespace=our-namespaceRemember to do this for each namespace in the cluster if there are services utilizing this domain.
After the successful creation, a secret, similar to the one illustrated below, should be identifiable.
- Update Application Ingress:
Leverage the existing echo-app ingress. We’ll revise the ingress configuration use the imported certificate by change the secretName of the ingress as below.
apiVersion: networking.k8s.io/v1
kind: Ingress
metadata:
  name: echo-ingress
  namespace: default
  annotations:
    kubernetes.io/tls-acme: "true"
spec:
  ingressClassName: nginx
  tls:
    - hosts:
        - echo.drunkcoding.net
      # only need to change this secret name.
      secretName: tls-drunkcoding-net-imported
  rules:
    - host: echo.drunkcoding.net
      http:
        paths:
          - pathType: Prefix
            path: "/"
            backend:
              service:
                name: echo-service
                port:
                  number: 80
The application will be protected with cloudflare cert, and below is the detailed certificate information as seen from the browser.
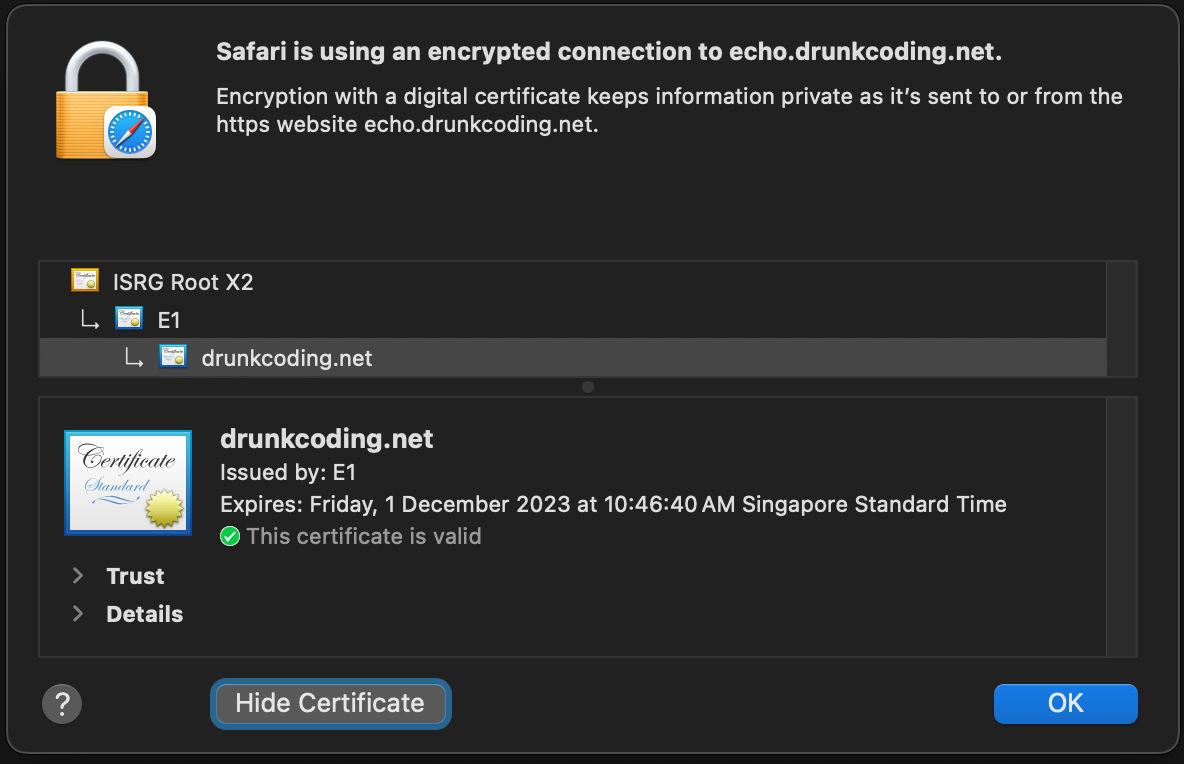
You may observe that the certificates provided by Cloudflare and Cert-Manager bear a resemblance, owing to their shared use of Let’s Encrypt for free SSL certificate generation. However, it’s important to note that for production applications, an upgrade to Cloudflare Advanced Certificate Manager is recommended for Production environment which provides a certificate from a standard, trusted third-party authority and boasts an extended validity period.
After completing these steps, we can proceed with uninstalling the Cert-Manager, as it is no longer needed.
Thank you for your time! If you have any further questions, feel free to ask. 🌟✨🎁
Steven GitHub