Introduction
Pulumi is a powerful open-source Infrastructure as Code (IaC) tool that allows us to define cloud resources using popular programming languages such as TypeScript, Python, Go, and C#. By harnessing these tools, we can effectively manage our infrastructure across multiple cloud providers like Azure, AWS, and Google Cloud.
In this guide, we will explore:
- Registering for a Pulumi account
- Generating a Personal Access Token (PAT)
- Setting up the Pulumi and Azure CLI tools
- Creating our first Pulumi project using the TypeScript template for Azure
- Deploying our first Azure Resource Group and Storage Account
Table of Contents
Open Table of Contents
Prerequisites
- Node.js installed on the machine
- An Azure account (you can create a free account here)
Pulumi Setup
Create a Pulumi Account
-
Visit the Pulumi Website
Let’s navigate to the Pulumi website and click on the “Sign Up” button.
-
Choose a Sign-Up Method
Sign up using one of the following methods:
- GitHub
- GitLab
- Bitbucket
Follow the on-screen instructions to complete the registration.
-
Confirm Your Email
If you signed up using an email address, check your inbox for a confirmation email and verify your account.
Generate a Personal Access Token (PAT)
A Personal Access Token (PAT) is required to authenticate the Pulumi CLI with your Pulumi account.
-
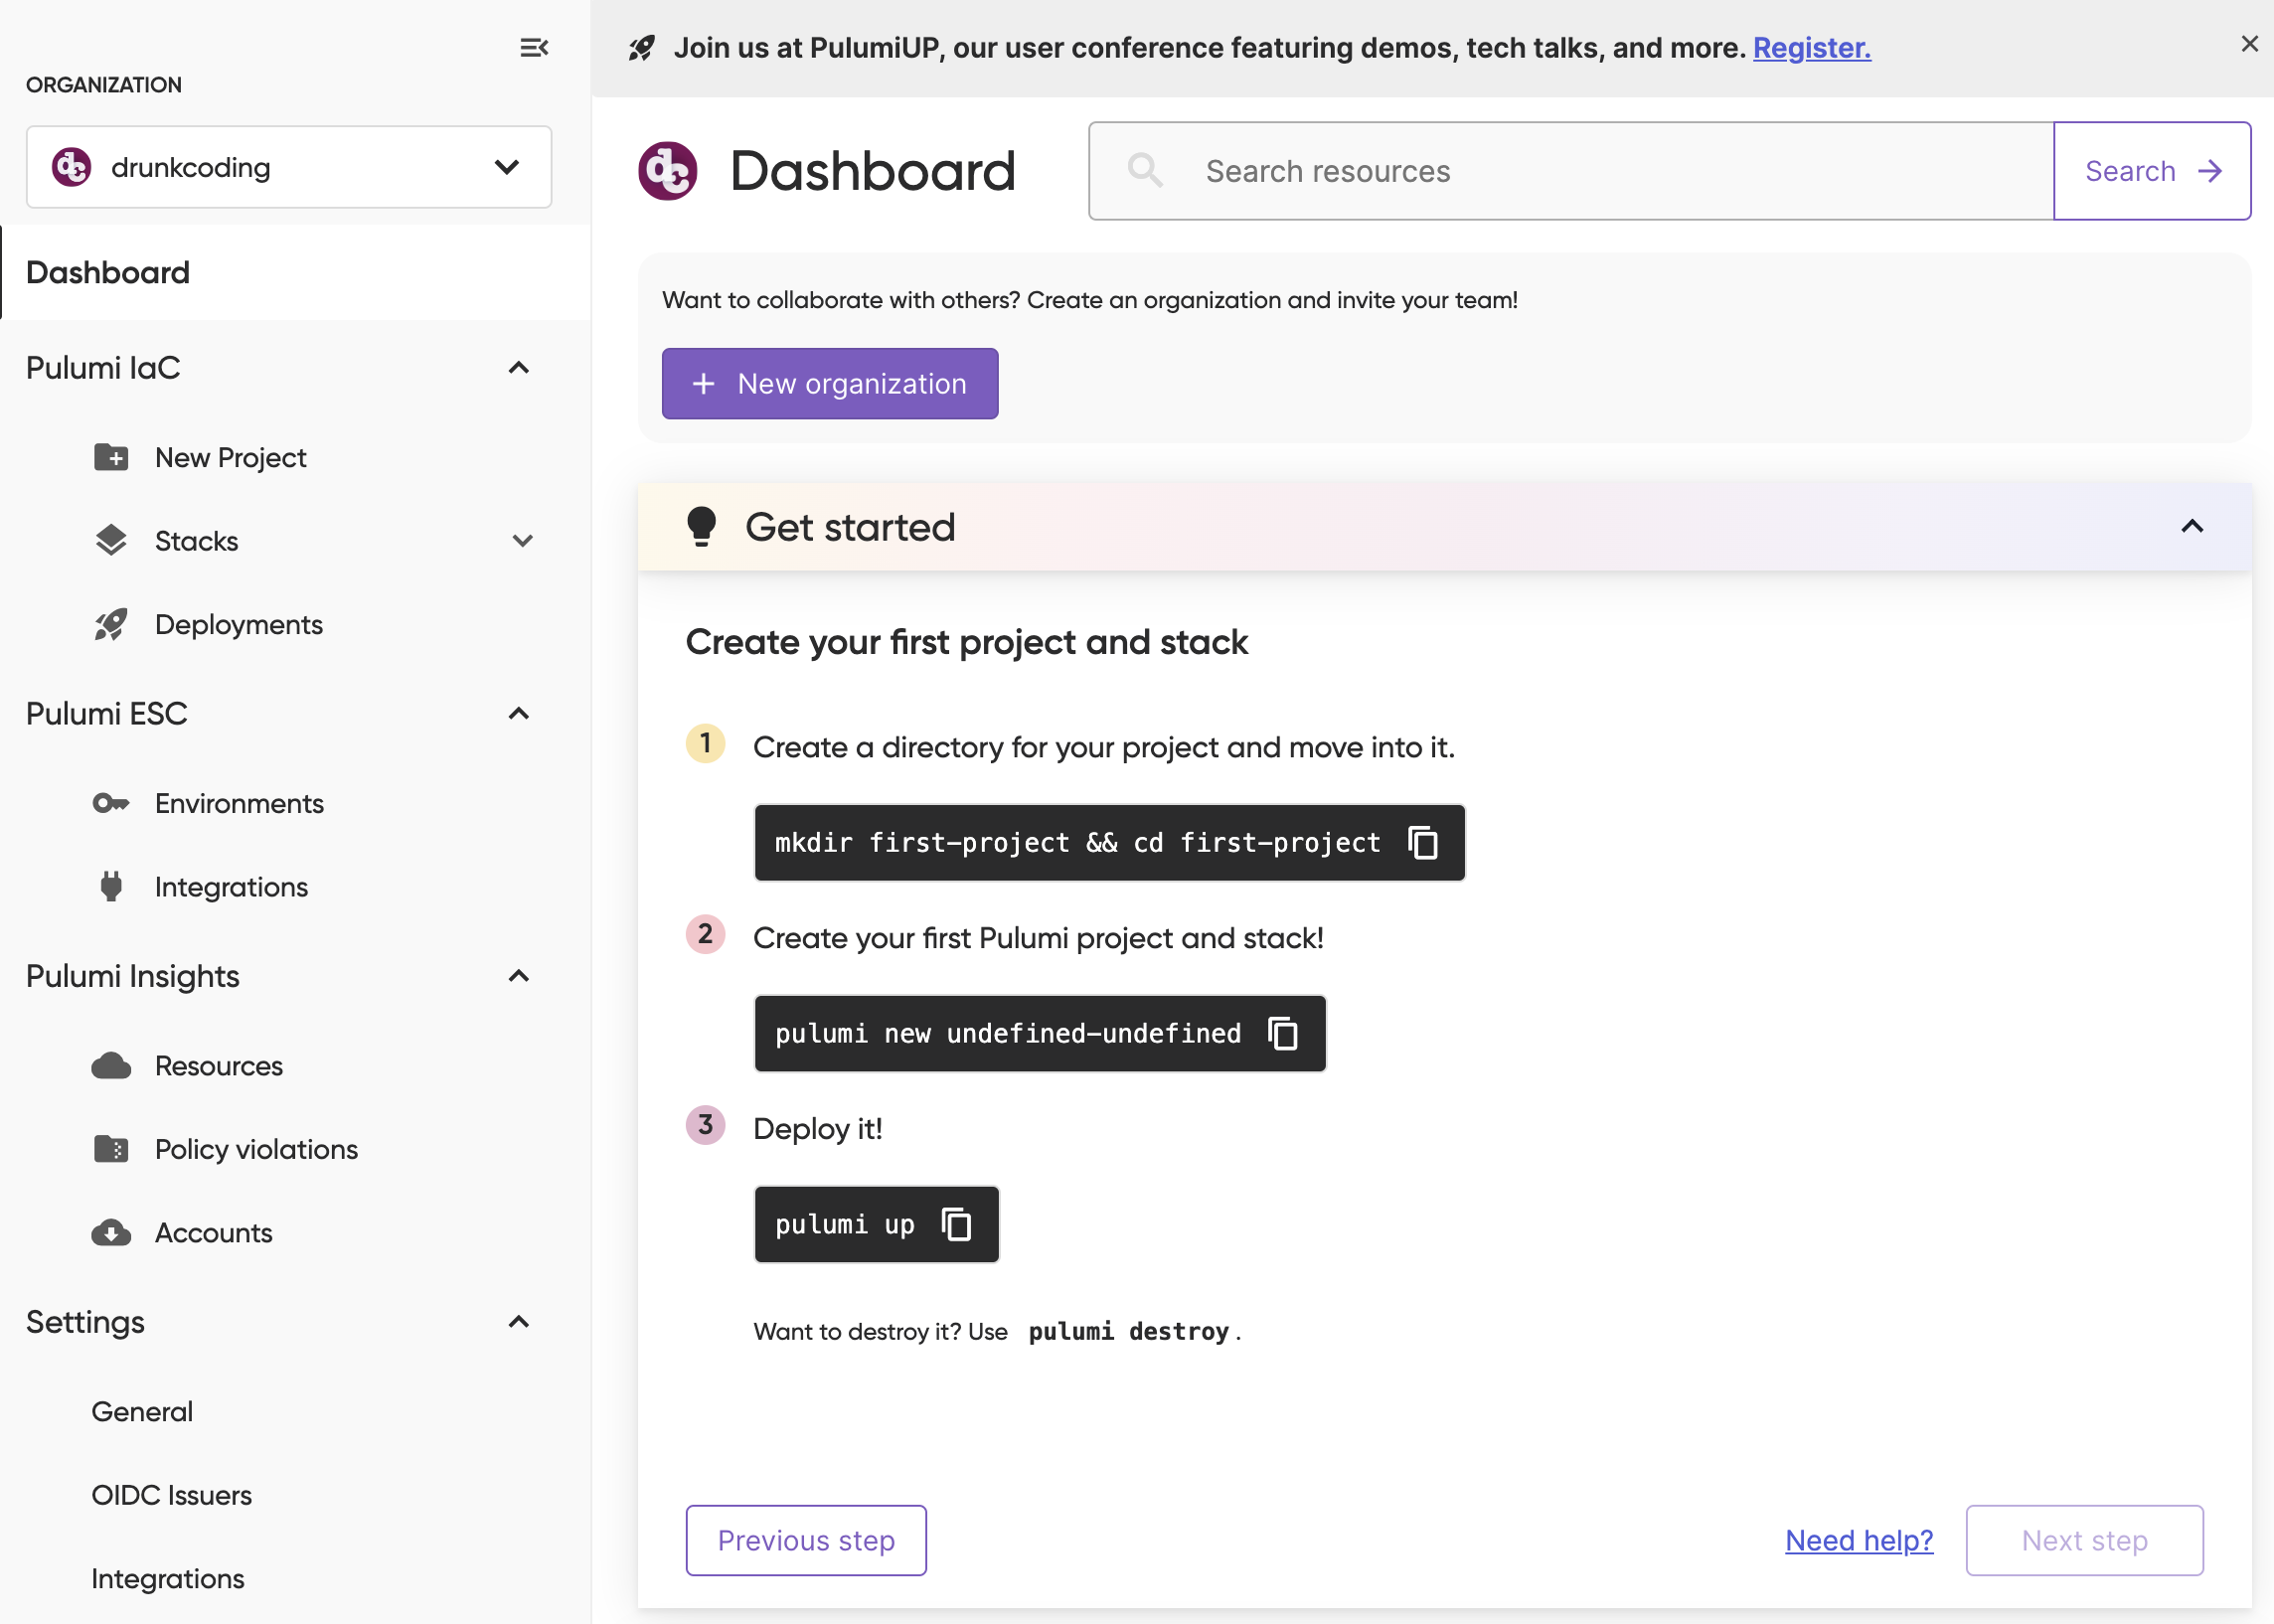
Pulumi Dashboard
Visit the Pulumi Dashboard and log in with your credentials.
-
Access the Tokens Page
- Click on your avatar or username in the top-right corner.
- Select “Access Tokens” from the dropdown menu.
-
Create a New Token
- Click on “Create Token”.
- Provide a description (e.g., “Pulumi CLI Token”).
- Click “Create” and copy the generated token for later use.
(Optional) Create a New Organization
If you’d like to manage your projects under a separate organization:
-
Navigate to Organizations
- In the Pulumi Console, click on your avatar or username.
- Select “Organizations”.
-
Create a New Organization
- Click on “Create Organization”.
- Follow the prompts to set up your organization.
Install CLI Tools
Install the Pulumi CLI
Follow the instructions here to install the Pulumi CLI for your operating system.
Install the Azure CLI
Next, Install the Azure CLI by following the instructions here.
Here are the current versions after installed them successfully.
> pulumi version
v3.133.0

> az -v
azure-cli  2.64.0
Configure Pulumi for Azure
Before diving into coding, let’s configure Pulumi to work with your Azure account. Run the following commands to set up your Pulumi stack with the correct Azure subscription details:
# Set the default Pulumi organization (replace with your organization name)
pulumi org set-default YOUR_PULUMI_ORGANIZATION

# Configure Azure settings
pulumi config set azure-native:tenantId YOUR_AZURE_TENANT_ID
pulumi config set azure-native:subscriptionId YOUR_AZURE_SUBSCRIPTION_ID
pulumi config set azure-native:location YOUR_AZURE_LOCATION  # e.g., SoutheastAsia

# Optional: If you're using a service principal for authentication
pulumi config set azure-native:clientId YOUR_AZURE_CLIENT_ID
pulumi config set azure-native:clientSecret YOUR_AZURE_CLIENT_SECRET --secret
Note:
- Replace placeholders with your actual Azure details.
- The
--secretflag ensures sensitive information is encrypted using Pulumi stack encryption.
Create Your First Pulumi Project
Set Up a Git Repository
Create a new directory for our Pulumi project and initialize a Git repository:
mkdir pulumi-azure-start
cd pulumi-azure-start
git init
Initialize a New Pulumi Project
Run the following command to create a new Pulumi project using the Azure TypeScript template:
pulumi new azure-typescriptWe’ll be prompted to provide:
- Login: Authenticate using the PAT token generated earlier.
- Project name: Accept the default or enter a custom name.
- Project description: The description of the project. (Optional)
- Stack name: The stack name, example:
dev,sandbox, orprd - Package manager: Choose the package manager (e.g.,
npm,yarn,pnpm). - Azure location: The azure region location for the resources to be created on. e.g.,
SoutheastAsia
After the project is created, if you are using your own account for development, then ensure you’re logged into Azure using Az CLI:
az login

# Sample Code
Retrieving tenants and subscriptions for the selection...

[Tenant and subscription selection]

No     Subscription name    Subscription ID                       Tenant
-----  -------------------  ------------------------------------  -----------
[1] *  DrunkCoding          54dbd16b-81cd-yyyy-xxxx-xxxyyyzzz000  DrunkCoding
Note:
- Pulumi supports various package managers, including
npm,yarn, andpnpm. For consistency, this guide will usepnpmfor all Pulumi projects.- By default, all pulumi stacks are encrypted with a randomly generated key. If you prefer to use a custom encryption key, refer to the Pulumi documentation for instructions.
Understand the Project Structure
Project files
The template generates several files:
- Pulumi.yaml: Contains project metadata.
- Pulumi.dev.yaml: Contains stack-specific configuration and secrets.
- index.ts: The main program file where you’ll define your infrastructure.
Review the Sample Code
Open index.ts in your preferred code editor and review the sample code. It typically includes the creation of a Resource Group and a Storage Account.
View Code:
import * as pulumi from "@pulumi/pulumi";
import * as resources from "@pulumi/azure-native/resources";
import * as storage from "@pulumi/azure-native/storage";

// Create an Azure Resource Group
const resourceGroup = new resources.ResourceGroup("resourceGroup");

// Create an Azure resource (Storage Account)
const storageAccount = new storage.StorageAccount("sa", {
    resourceGroupName: resourceGroup.name,
    sku: {
        name: storage.SkuName.Standard_LRS,
    },
    kind: storage.Kind.StorageV2,
});

// Export the primary key of the Storage Account
const storageAccountKeys = storage.listStorageAccountKeysOutput({
    resourceGroupName: resourceGroup.name,
    accountName: storageAccount.name
});

export const primaryStorageKey = storageAccountKeys.keys[0].value;
Note: Exporting the key here is just for demo purposes. In the real environment, all the connection string and credentials should be stored in the Key Vault instead.
Preview and Deploy Pulumi Stack
Preview the Changes
Before deploying, preview the changes to ensure everything is set up correctly:
pulumi upSample Output:
Previewing update (dev)

View in Browser (Ctrl+O): https://app.pulumi.com/drunkcoding/day00_pulumi-azure-start/dev/previews/xxxxxxxx-1f60-4ed9-bb35-xxxxxxxxxxxx

     Type                                     Name                          Plan
 +   pulumi:pulumi:Stack                      day00_pulumi-azure-start-dev  create
 +   ├─ azure-native:resources:ResourceGroup  resourceGroup                 create
 +   └─ azure-native:storage:StorageAccount   sa                            create

Outputs:
    primaryStorageKey: output<string>

Resources:
    + 3 to create

Do you want to perform this update?  [Use arrows to move, type to filter]
  yes
> no
  details
Deploy the Stack
Deploy your resources to Azure:
pulumi up -ySample Output:
Updating (dev)
View Live: https://app.pulumi.com/YOUR_ORGANIZATION/day00_pulumi-azure-start/dev/updates/1
Type Name Status
+ pulumi:pulumi:Stack day00_pulumi-azure-start-dev created
+ ├─ azure-native:resources:ResourceGroup resourceGroup created
+ └─ azure-native:storage:StorageAccount storageaccount created
Outputs:
primaryStorageKey: "<secure>"
Resources:
+ 3 created
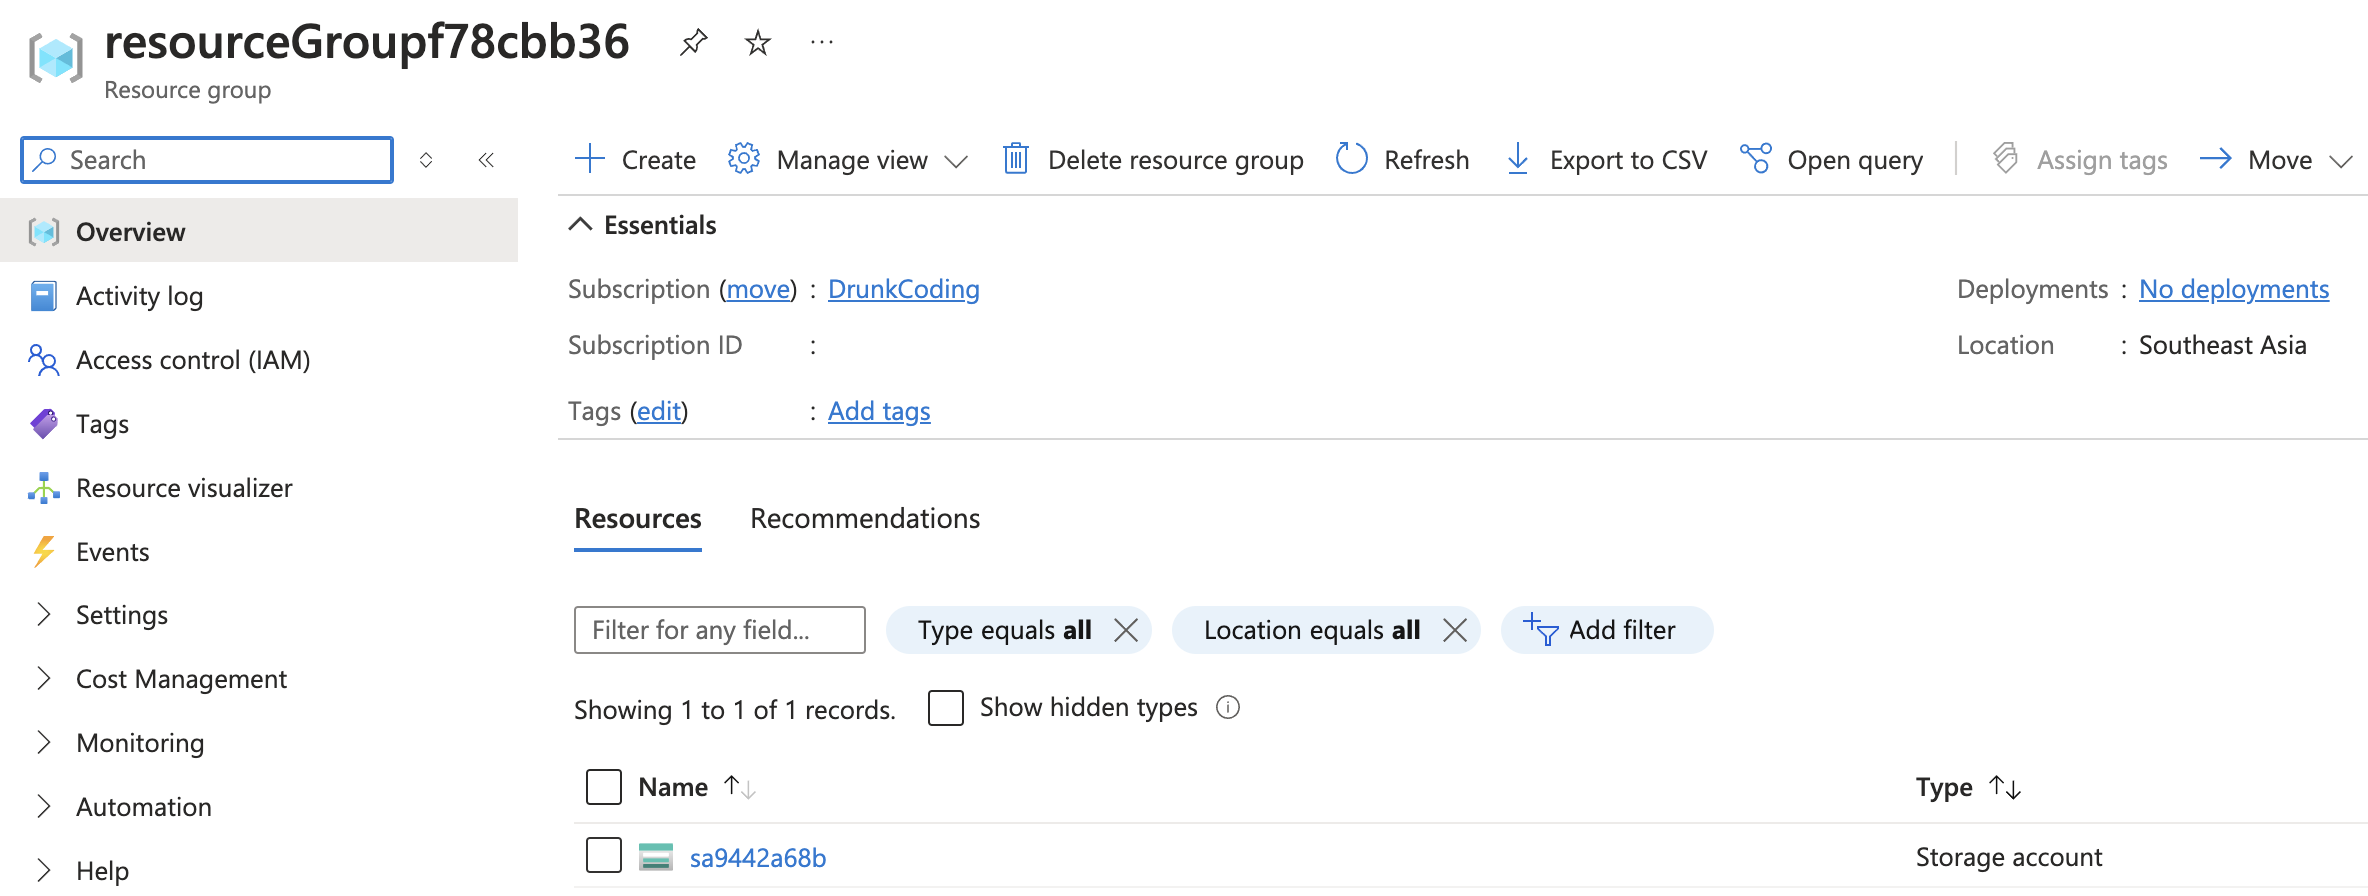
Duration: 35sVerify the Deployment
After deployment, We can verify the resources in the Azure Portal:
- Log in to the Azure Portal.
- Navigate to Resource Groups and locate your newly created resource group.
- Verify that the Storage Account is present within the resource group.
Clean Up Resources
To avoid incurring unnecessary costs, destroy the resources when they’re no longer needed:
pulumi destroy -ySample Output:
Destroying (dev)

View Live: https://app.pulumi.com/YOUR_ORGANIZATION/day00_pulumi-azure-start/dev/updates/2

     Type                                     Name                          Status
 -   pulumi:pulumi:Stack                      day00_pulumi-azure-start-dev  deleted
 -   ├─ azure-native:storage:StorageAccount   storageaccount                deleted
 -   └─ azure-native:resources:ResourceGroup  resourceGroup                 deleted

Outputs:
  - primaryStorageKey: "<secure>"

Resources:
    - 3 deleted

Duration: 25s

The resources in the stack have been deleted, but the history and configuration are still maintained.
If you want to remove the stack completely, run `pulumi stack rm dev`.
Pulumi CLI commands
The most common commands in the CLI that you’ll be using are as follows:
pulumi new: creates a new project using a templatepulumi stack select: switching between the stacks (at least one is required to perform an update)pulumi config: configure variables such as keys, regions, and so onpulumi up: preview and deploy changes to your program and/or infrastructurepulumi preview: preview your changes explicitly before deployingpulumi destroy: destroy your program and its infrastructure when you’re done
Refer here for the details of Pulumi commands
Conclusion
Congratulations! You’ve successfully:
- Registered for a Pulumi account
- Generate a Personal Access Token
- Set up the Pulumi and Azure CLI tools
- Create your first Pulumi project using TypeScript for Azure
- Deployed an Azure Resource Group and Storage Account
Pulumi simplifies cloud resource management by allowing you to use familiar programming languages and tools. We can now explore adding more complex resources and configurations on the projects.
References
Next
Day 02: Private Aks Environment Architecture.
In the next tutorial, We will discuss the architecture of private AKS that we are going to provision on Azure, leveraging multiple subnets, Azure Firewall, and other essential cloud services. This architecture ensures that sensitive workloads remain isolated and protected from public internet exposure.
Thank You
Thank you for taking the time to read this guide! I hope it has been helpful, feel free to explore further, and happy coding! 🌟✨
Steven | GitHub