Introduction
In this article, we will learn how to set up a CloudPC with Windows 365 Enterprise to create a secure and efficient Virtual Desktop Infrastructure (VDI) for accessing a private AKS environment.
We will cover the essential steps, including configuring network settings, setting up provisioning profiles and policies with Microsoft Intune, and creating an Entra ID group to streamline the provisioning process.
Obtaining a License
Before we begin the configuration, it is important to ensure that we have a Windows 365 Enterprise license. We can either purchase a new license or obtain a trial license through the Microsoft 365 Admin Center.
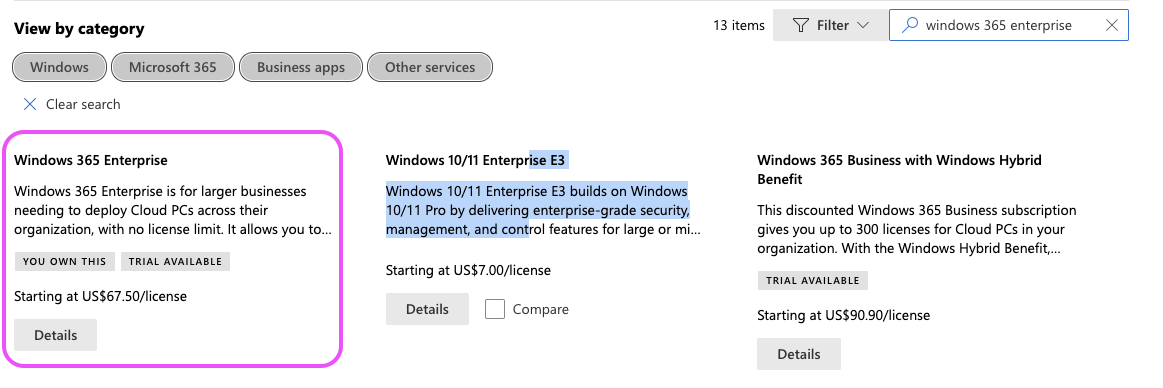
Note: A trial license is available, typically lasting one month, with the possibility of extending it for an additional month.
Table of Contents
Open Table of Contents
Intune Configuration
Since Microsoft Intune is widely used for device management, we will not delve into its setup here. Instead, our focus will be on configuring Windows 365 Enterprise.
Entra Provision Group
-
First, we navigate to Groups in the Microsoft Endpoint Manager Admin Center and create a new group named
MDM - IT Windows 365.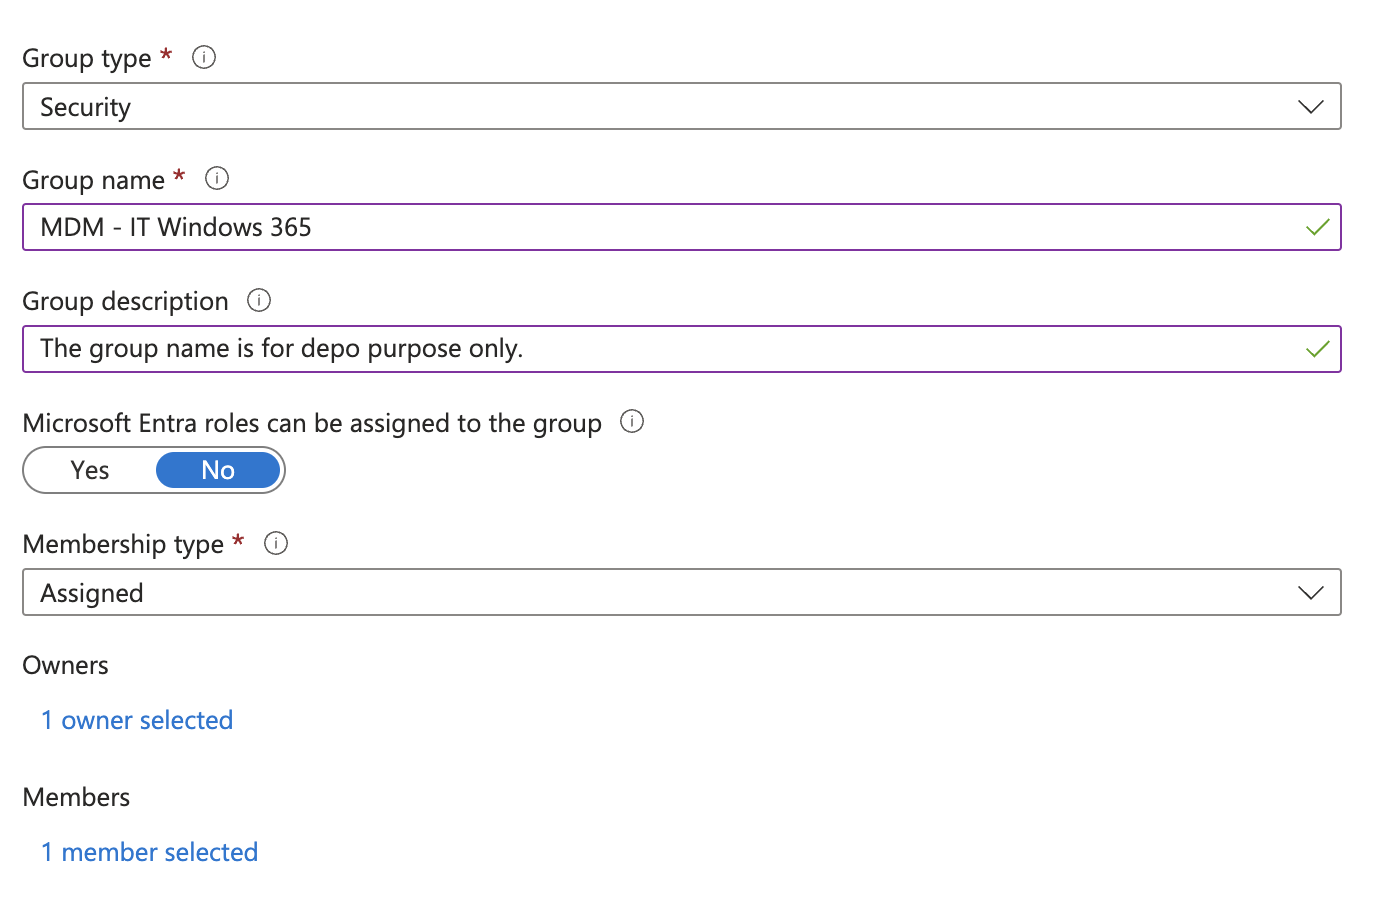
-
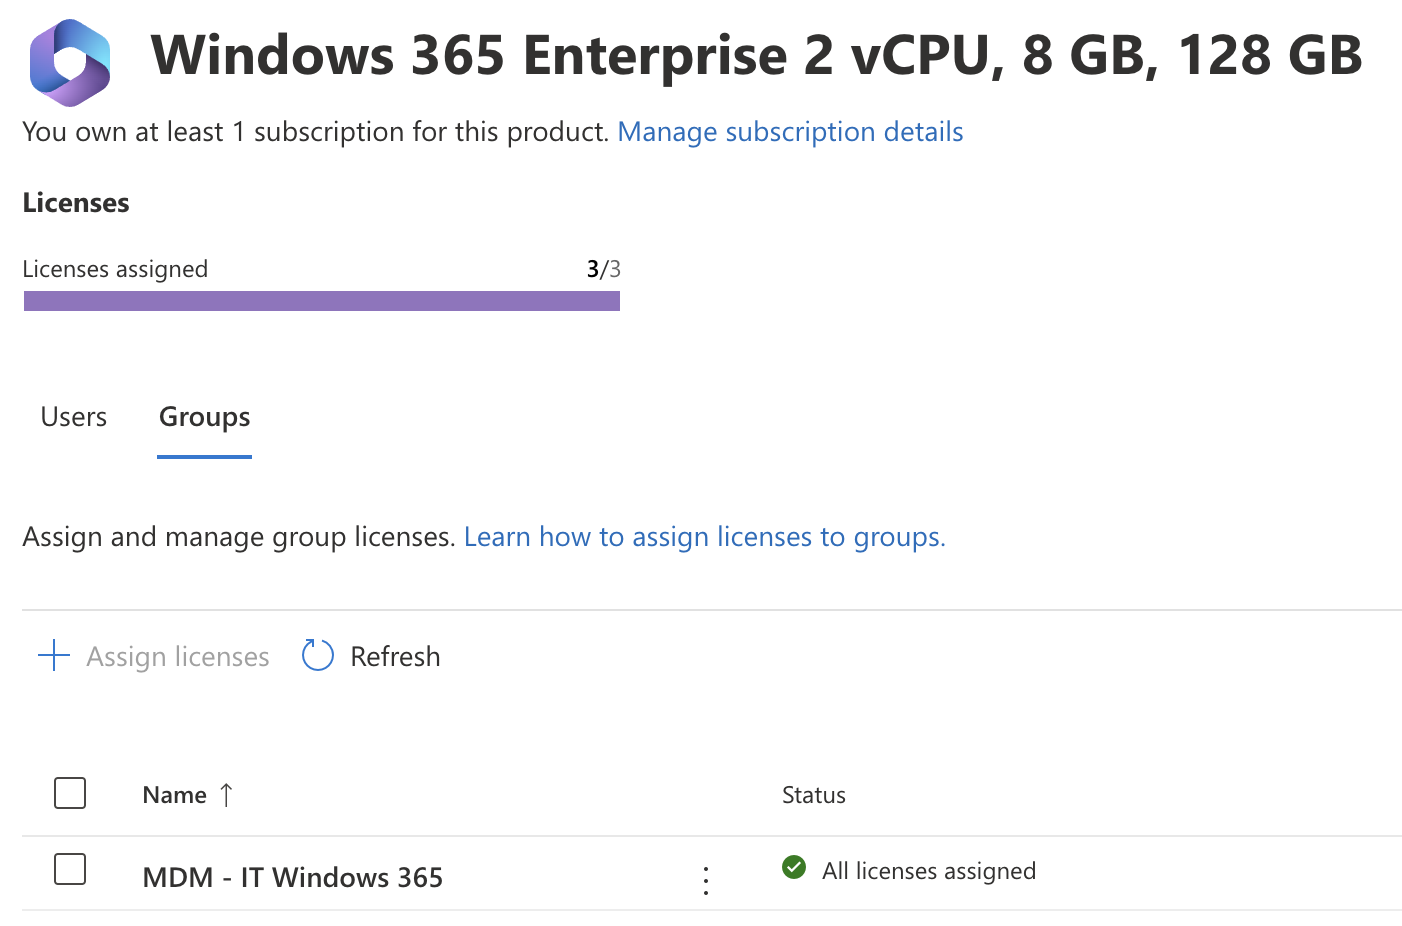
Then, we return to the Microsoft 365 Admin Center to assign the license to this group. This step automates the license assignment for all members within the group.
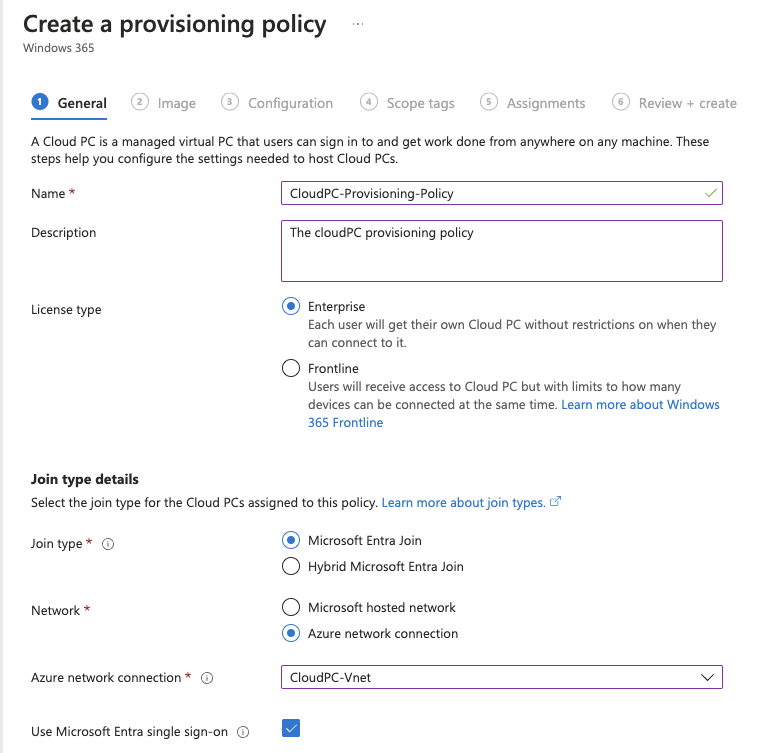
Creating Provisioning Profiles
Once we have the license ready and assigned to our Entra ID group, we can proceed to create a provisioning profile for Windows 365 Enterprise.
-
Navigate to Devices within Microsoft Intune, and then select Provisioning > Windows 365.
-
Set up a new provisioning profile called
Windows 365 - IT Managed.- Join type: Select Microsoft Entra Join.
- Network: Choose Azure network connection and associate it with the previously established CloudPC subnet.
- Activate EntraID SSO: This will configure single sign-on (SSO) for the CloudPC.
Provisioning CloudPC Devices
With our profile ready, we can start provisioning CloudPC devices for users. To do this, we need to make sure the target users are part of the MDM - IT Windows 365 group.
-
After adding users, the provisioning process will automatically start, and the devices will be ready for use within 1 hour.
-
Once the provisioning is complete, the assigned users will be able to access their CloudPC through the Windows 365 portal.

Accessing Windows 365
We can access our CloudPC in several ways:
-
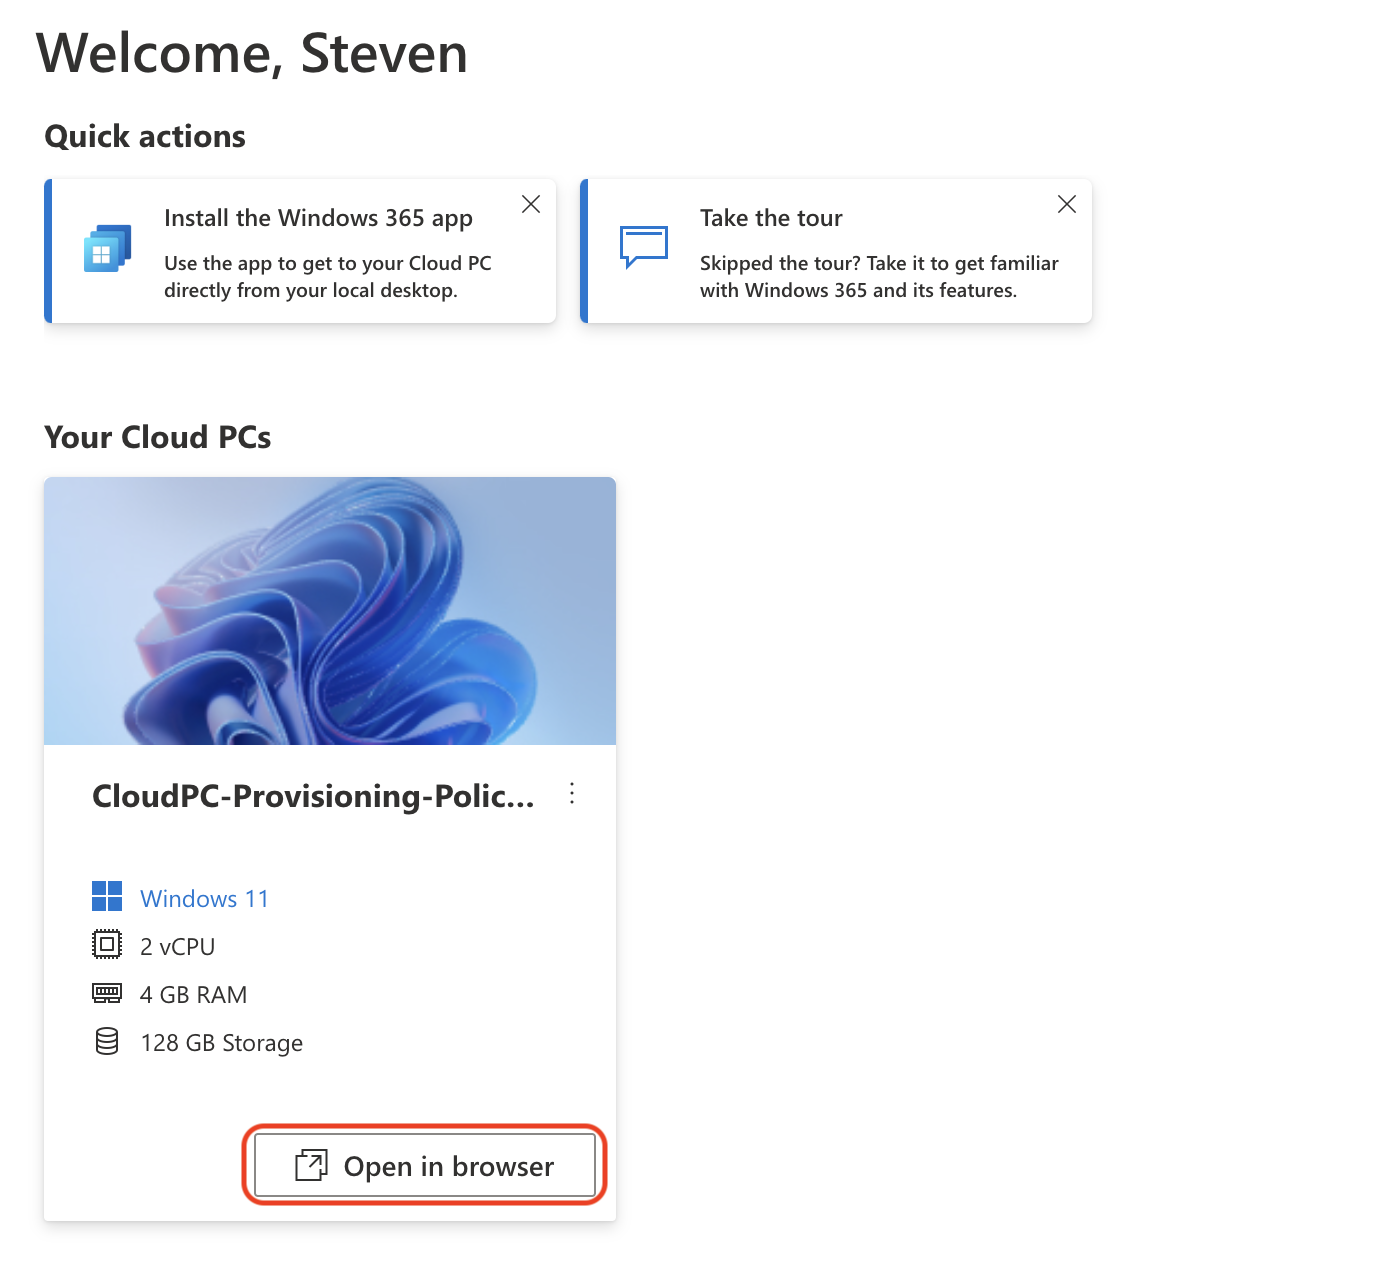
Online Portal Access: We can access Windows 365 through the online portal.
This allows us to log in and launch the remote desktop directly within our web browser.
-
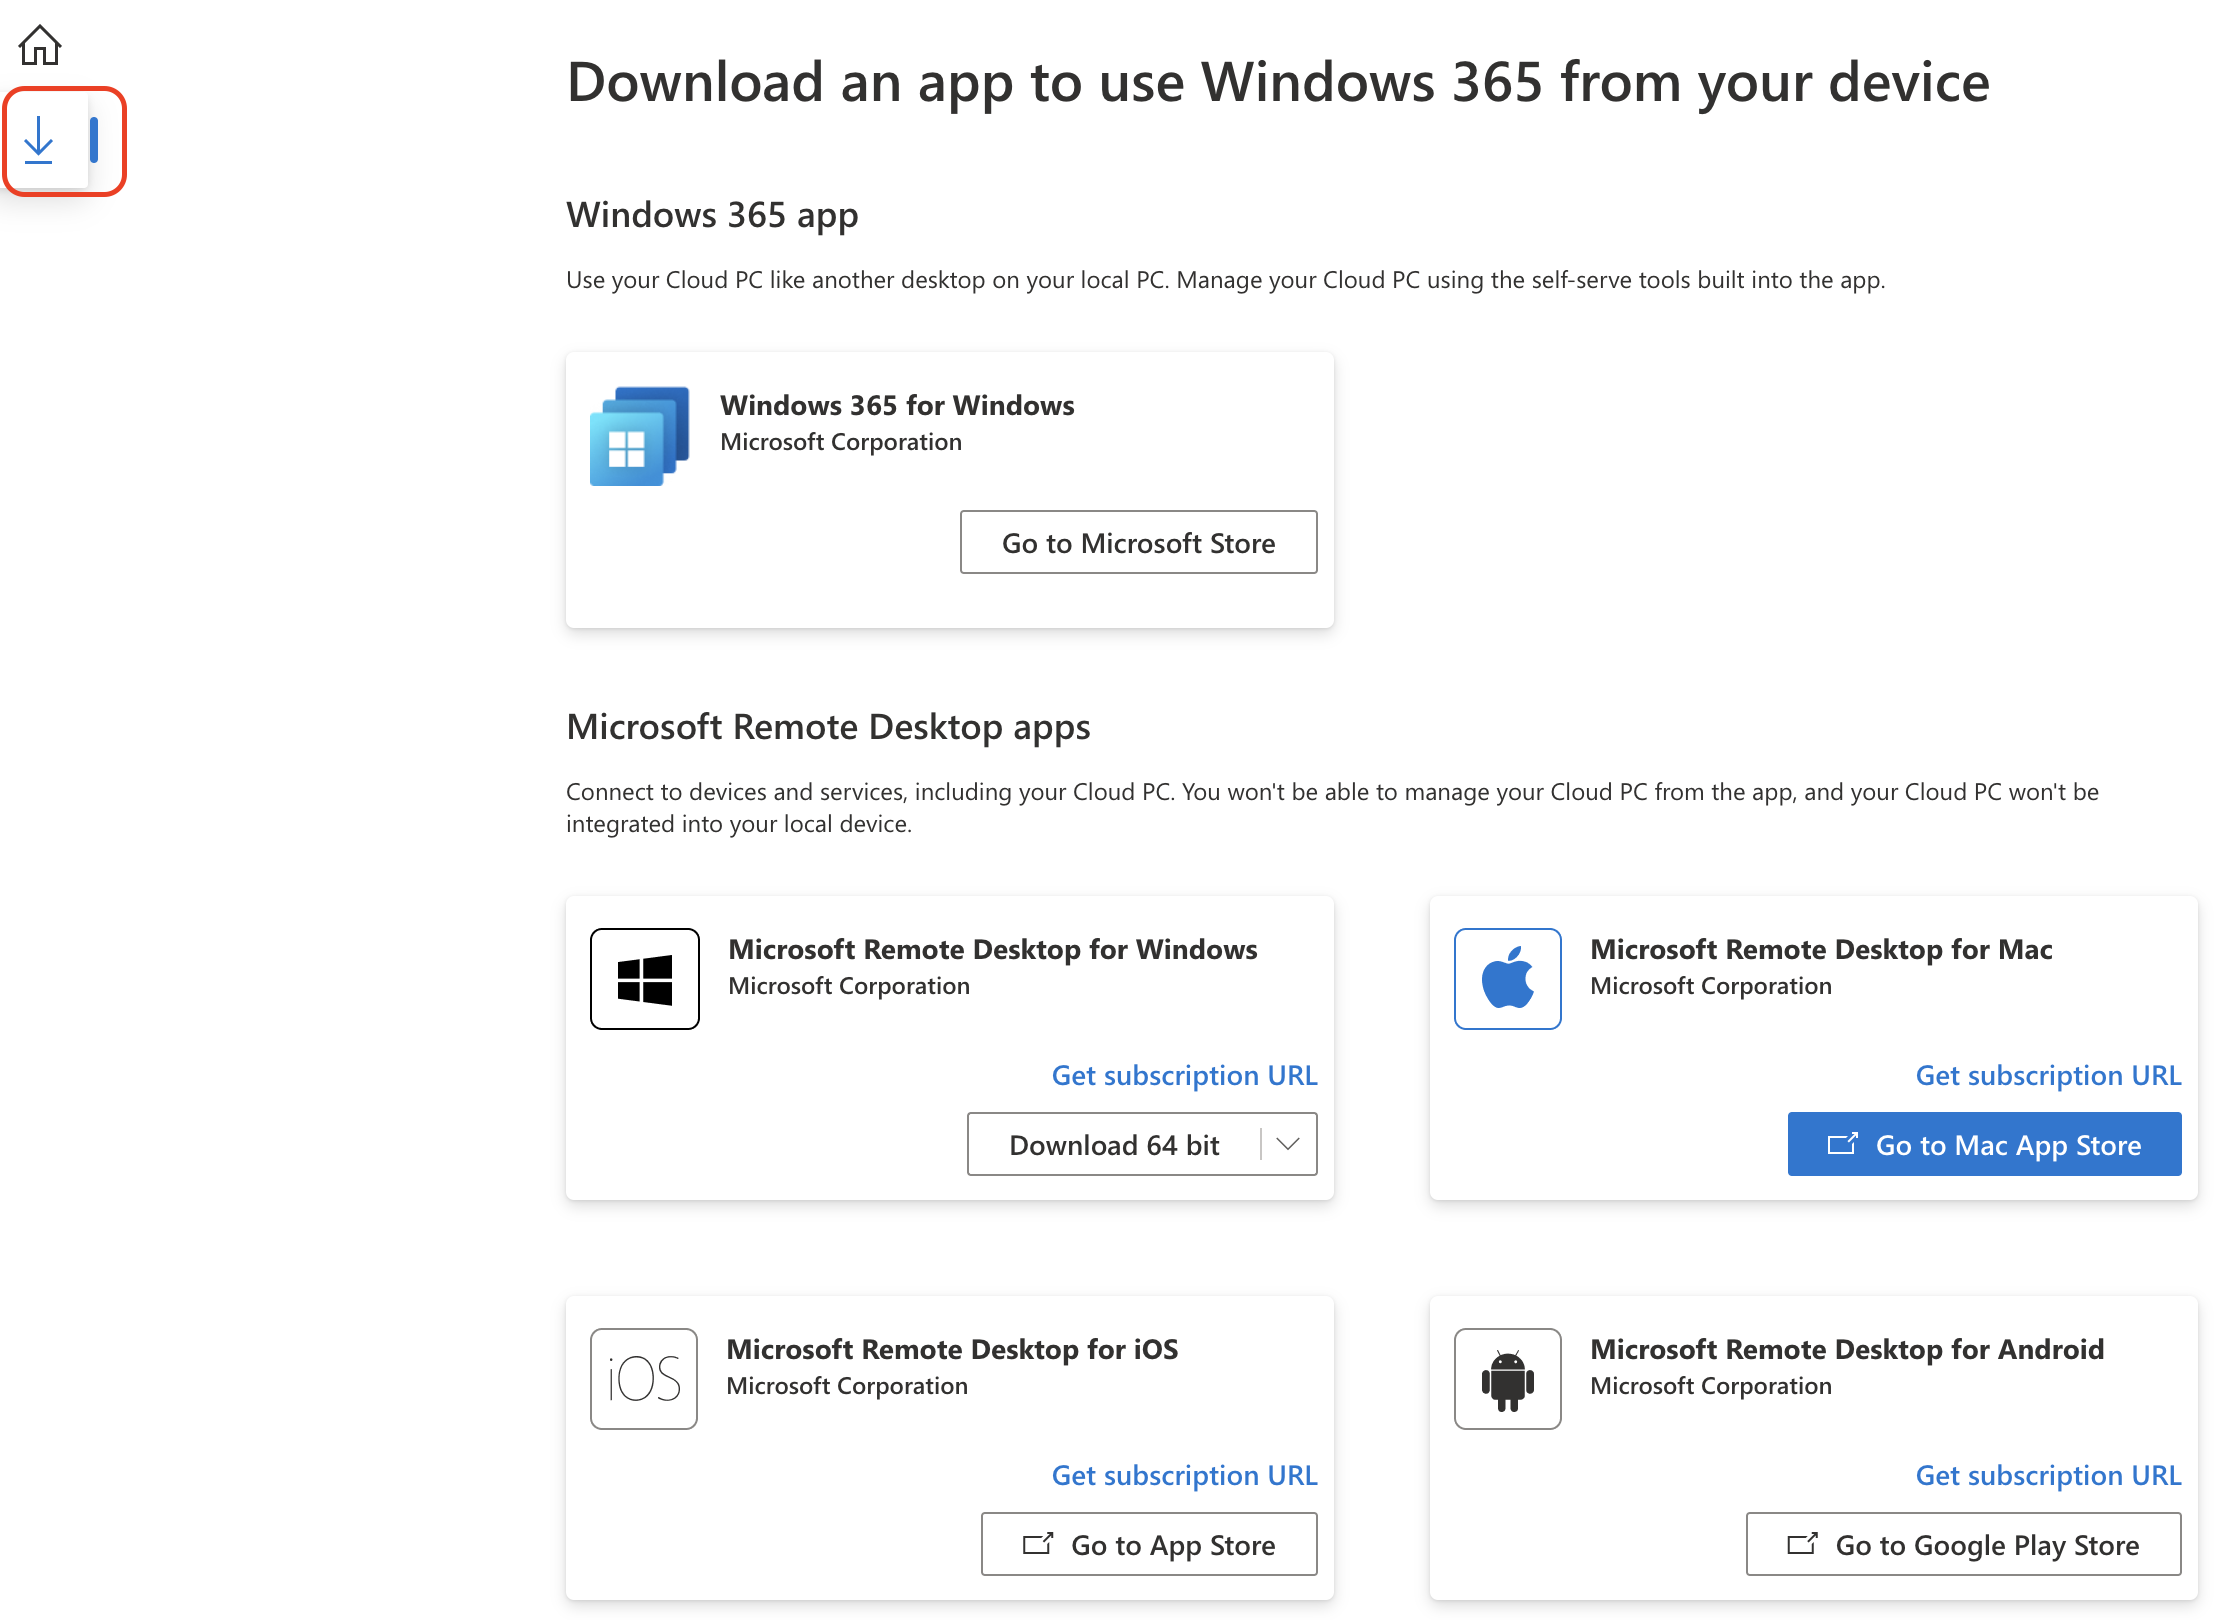
Windows App Access: Microsoft provides a Windows App that enables us to launch Windows 365 natively.
This app is available for download from the Windows 365 online portal.
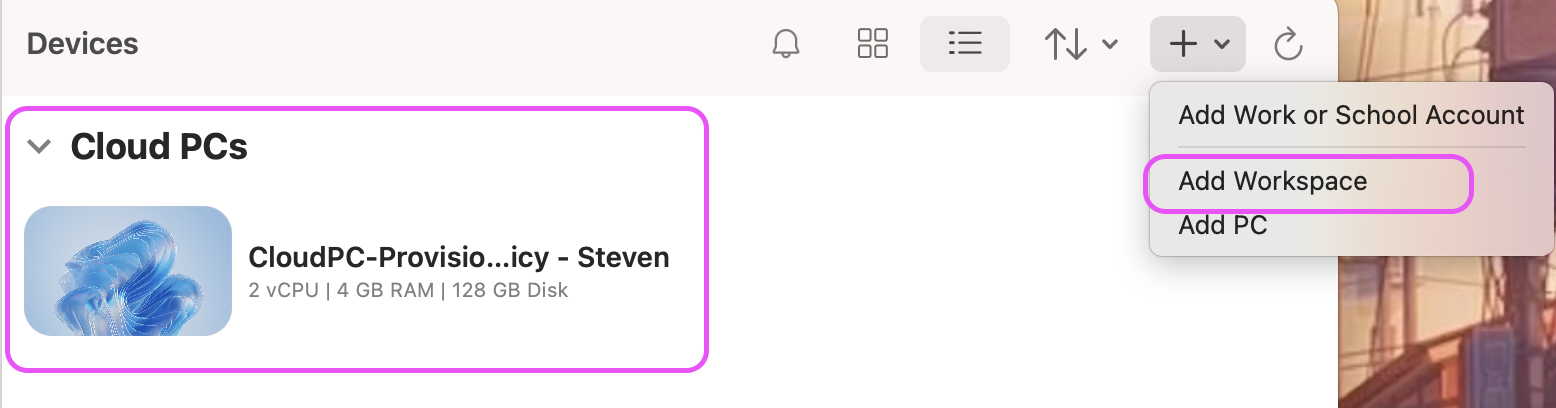
Once the app is installed, we can add the appropriate URL as a workspace and log in using our Entra ID. This setup allows us to launch and access Windows 365 natively on our platform.
-
Private AKS Access: with Windows 365 configured above, We can access to our private AKS cluster:
-
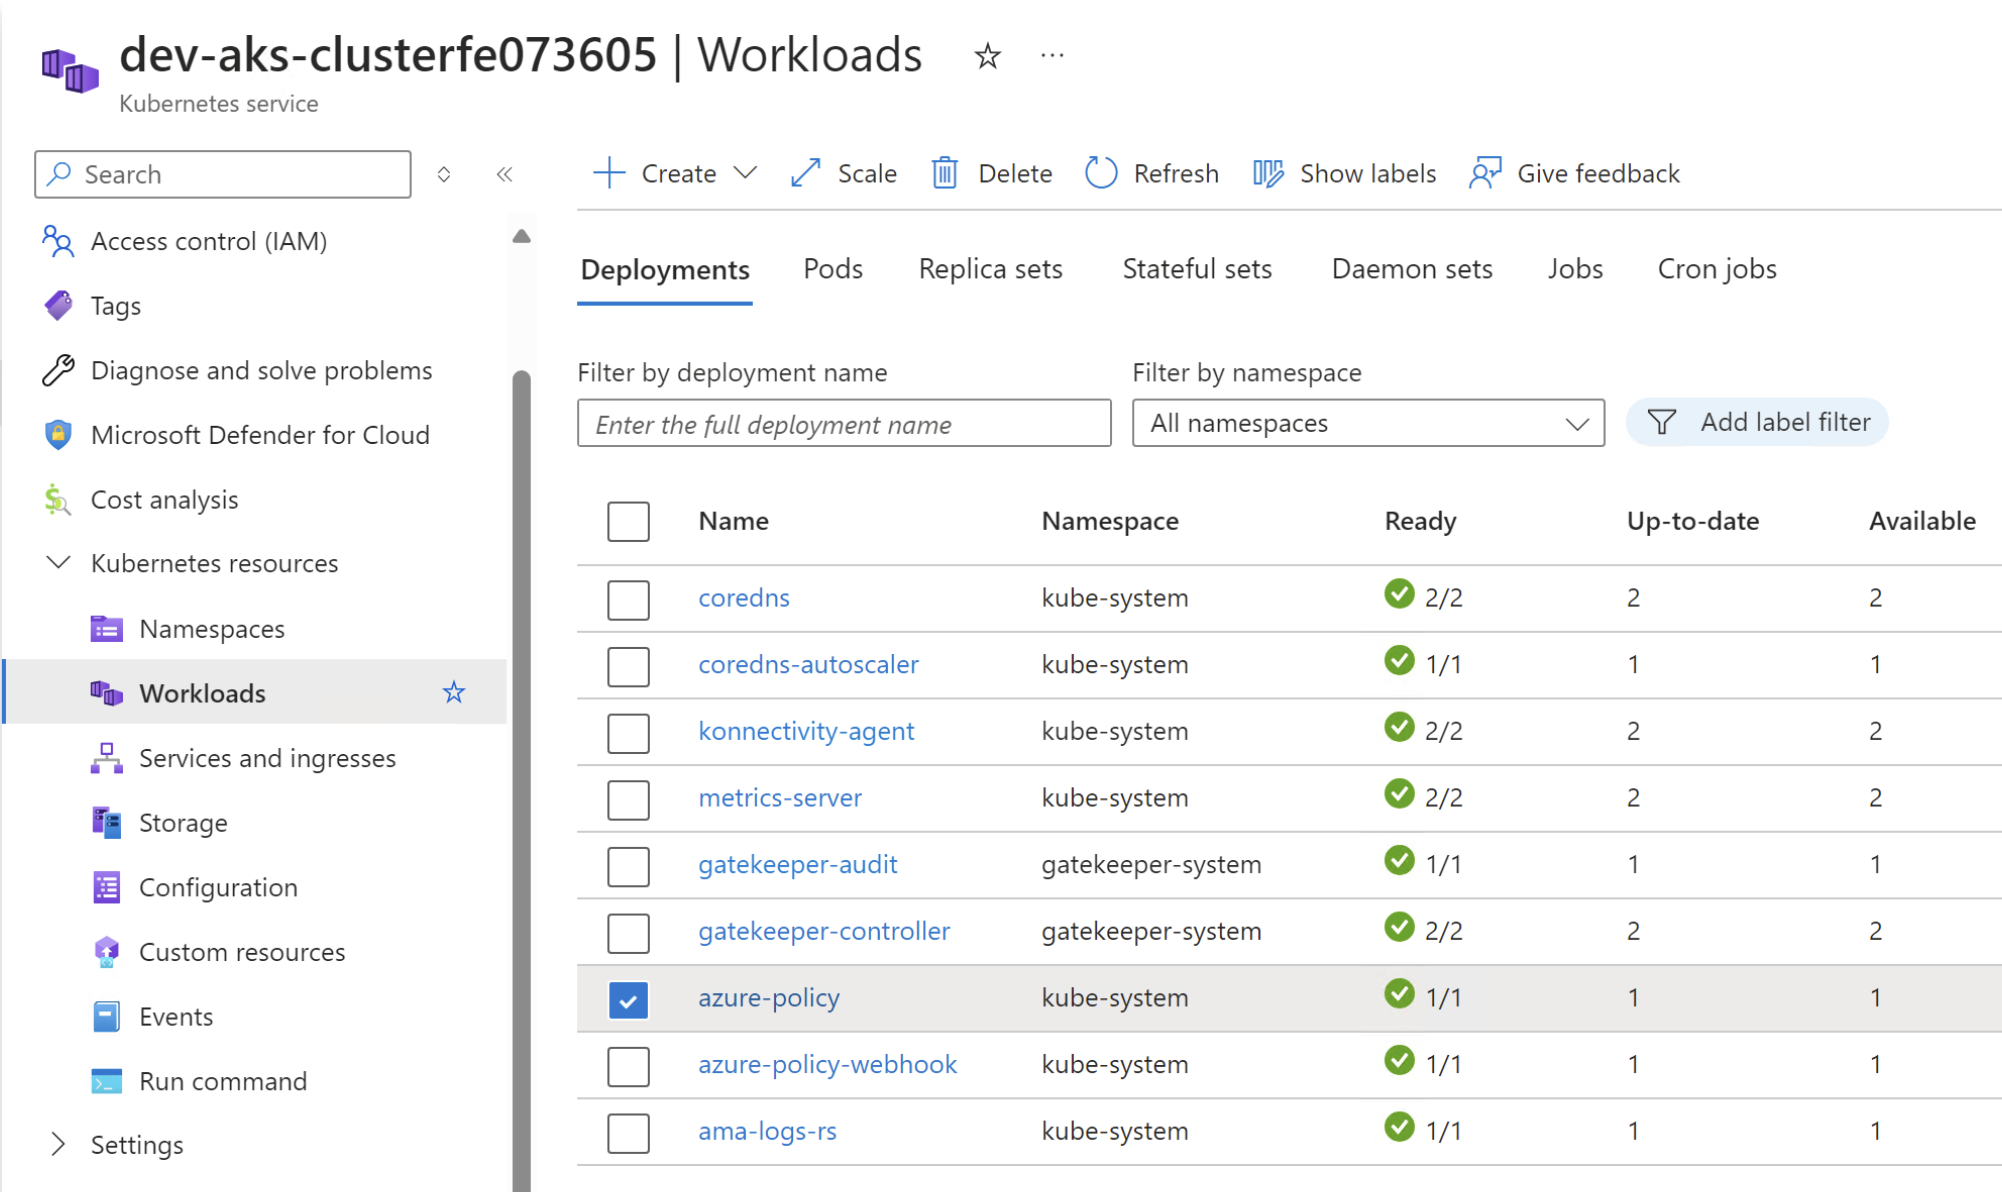
Through Azure Portal: This allows us to access and manage AKS resources, including namespaces, pods, and deployments, directly in the browser.
-
Using Kubectl CLI: To use the
kubectlcommand locally, follow the Azure Portal instructions to set up our local environment. This setup requires the installation ofAzure CLI,kubectl, andkubelogin.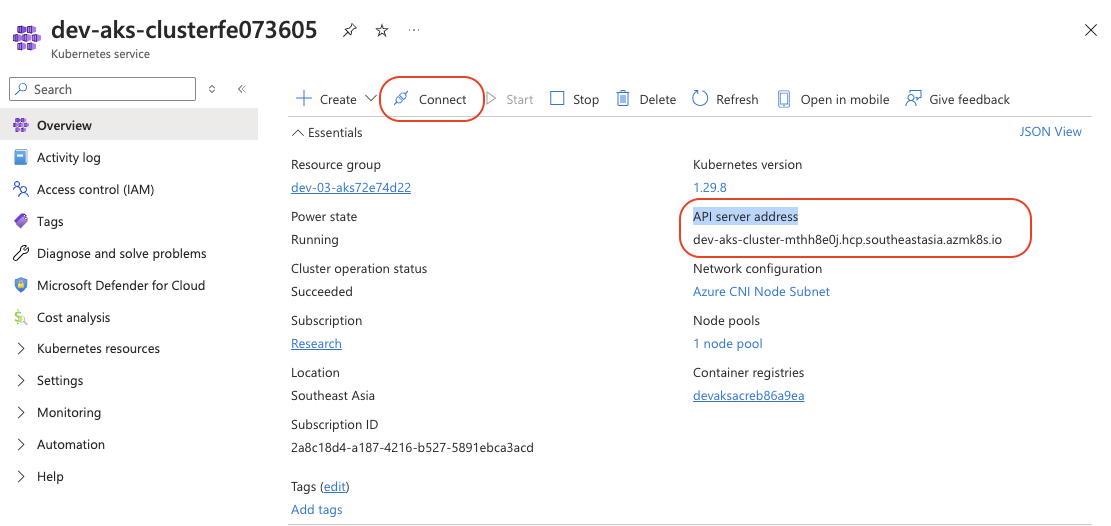
To retrieve the AKS credentials with a public FQDN, execute the following command:
az aks get-credentials --resource-group YOUR_RESOURCE_GROUP --name YOUR_AKS_NAME --overwrite-existing --public-fqdn. Ensure to replaceYOUR_RESOURCE_GROUPandYOUR_AKS_NAMEwith the appropriate names for your setup.- Using Lens: Lens is my favourite tool for managing Kubernetes clusters alternately for boring
kubectlcommands. You should be able to download it here.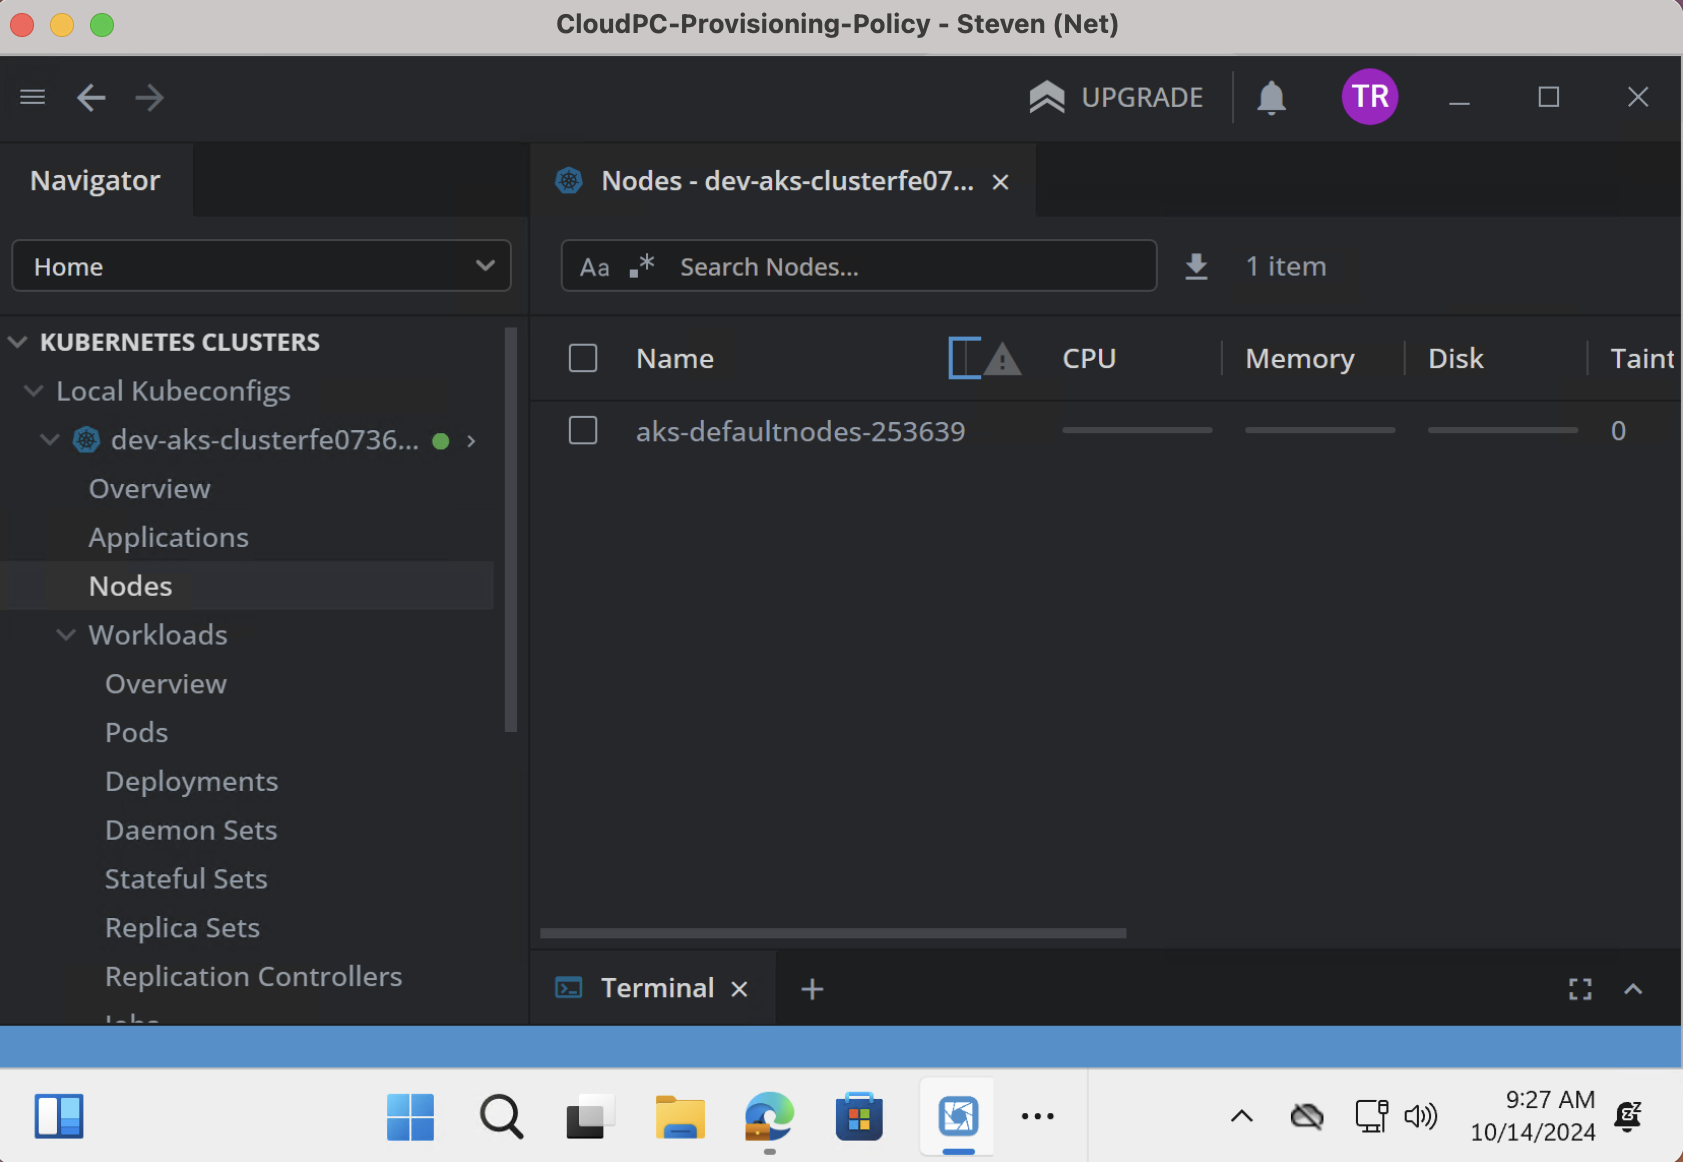
-
Conclusion
In this guide, we have successfully set up a CloudPC using Windows 365 Enterprise, configured the necessary provisioning profiles, and ensured secure access to our private AKS environment through a Virtual Desktop Infrastructure (VDI). This setup provides our teams with efficient, secure remote access that integrates seamlessly with our existing infrastructure.
Reference
Next Topic
Day 08: Setting Up a Deployment Pipeline for Pulumi Projects.
In the next article, we will walk through creating a Continuous Integration and Continuous Deployment (CI/CD) pipeline on Azure DevOps for our Pulumi projects.
Thank You
Thank you for taking the time to read this guide! We hope it has been helpful. Feel free to explore further, and happy coding! 🌟✨
Steven | GitHub