Introduction
In environments with stringent security policies, exposing applications hosted on private AKS clusters to the internet without compromising security can be challenging. These environments often have no inbound internet access and no open ports, limiting conventional methods of application exposure.
In this guide, we’ll walk through how to securely expose an application hosted on a private AKS cluster to the internet using Cloudflare Tunnel, a solution that eliminates the need for public IP addresses or open ports. Additionally, we’ll demonstrate how to secure the application with Cloudflare Access integrated with Azure EntraID Single Sign-On (SSO).
Table of Contents
Open Table of Contents
Prerequisites
Before diving into Cloudflare Tunnel, make sure you have the following set-up:
- Cloudflare Zero Trust: You need an active Cloudflare account with the Zero Trust feature enabled to set up a Cloudflare Tunnel.
Setting Up Cloudflare Tunnel
Cloudflare Tunnel (formerly Argo Tunnel) provides a secure connection between your services and Cloudflare without the need for public IP addresses or inbound firewall rules.
Generate Tunnel Token
To get started, follow these steps to create a Cloudflare Tunnel token:
-
Sign in to Cloudflare
Log in to your Cloudflare account and navigate to the Zero Trust dashboard. -
Create a Tunnel
Go to Network and select Tunnels. Click Create a tunnel and choose thecloudflaredoption.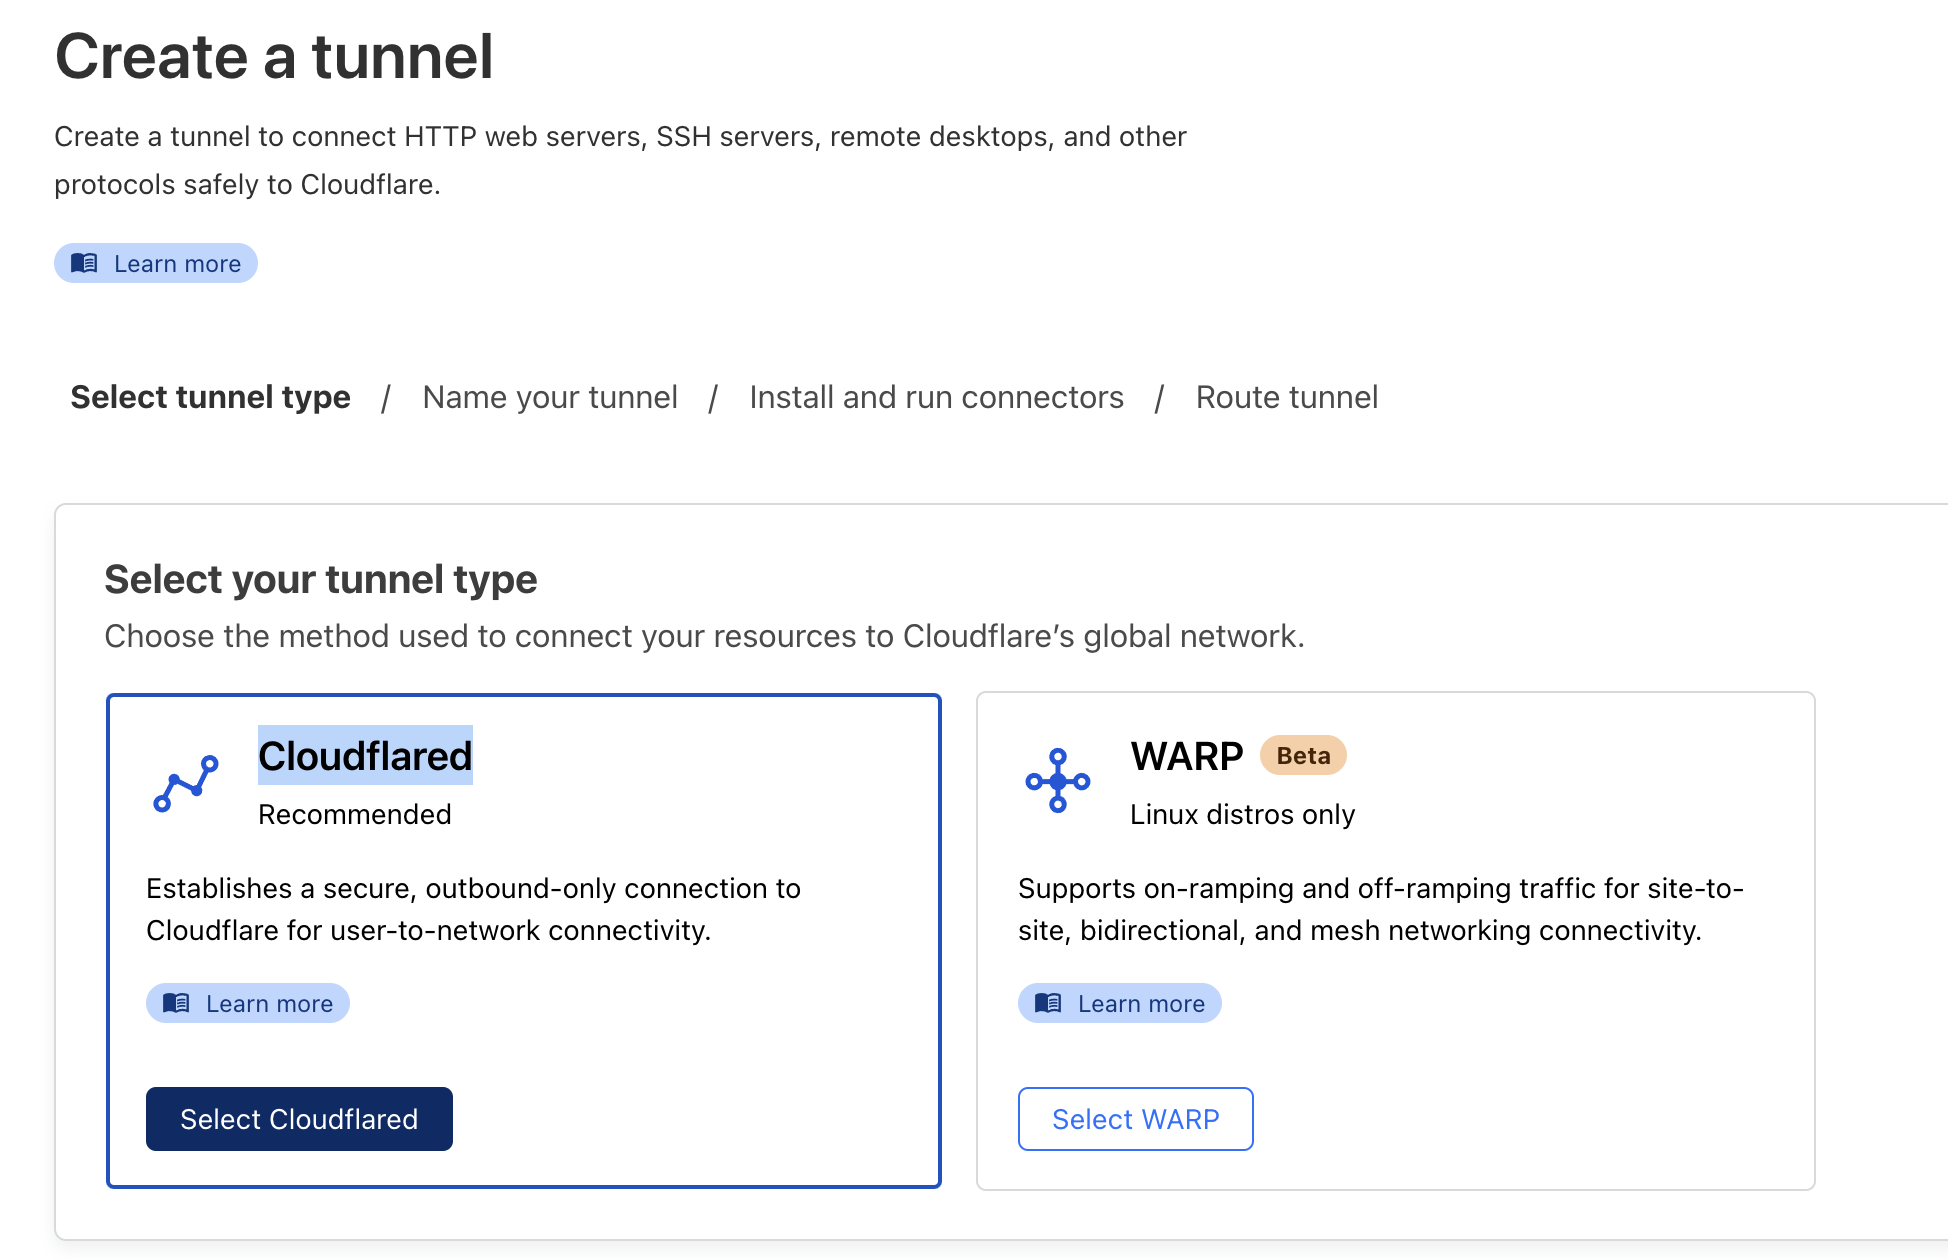
-
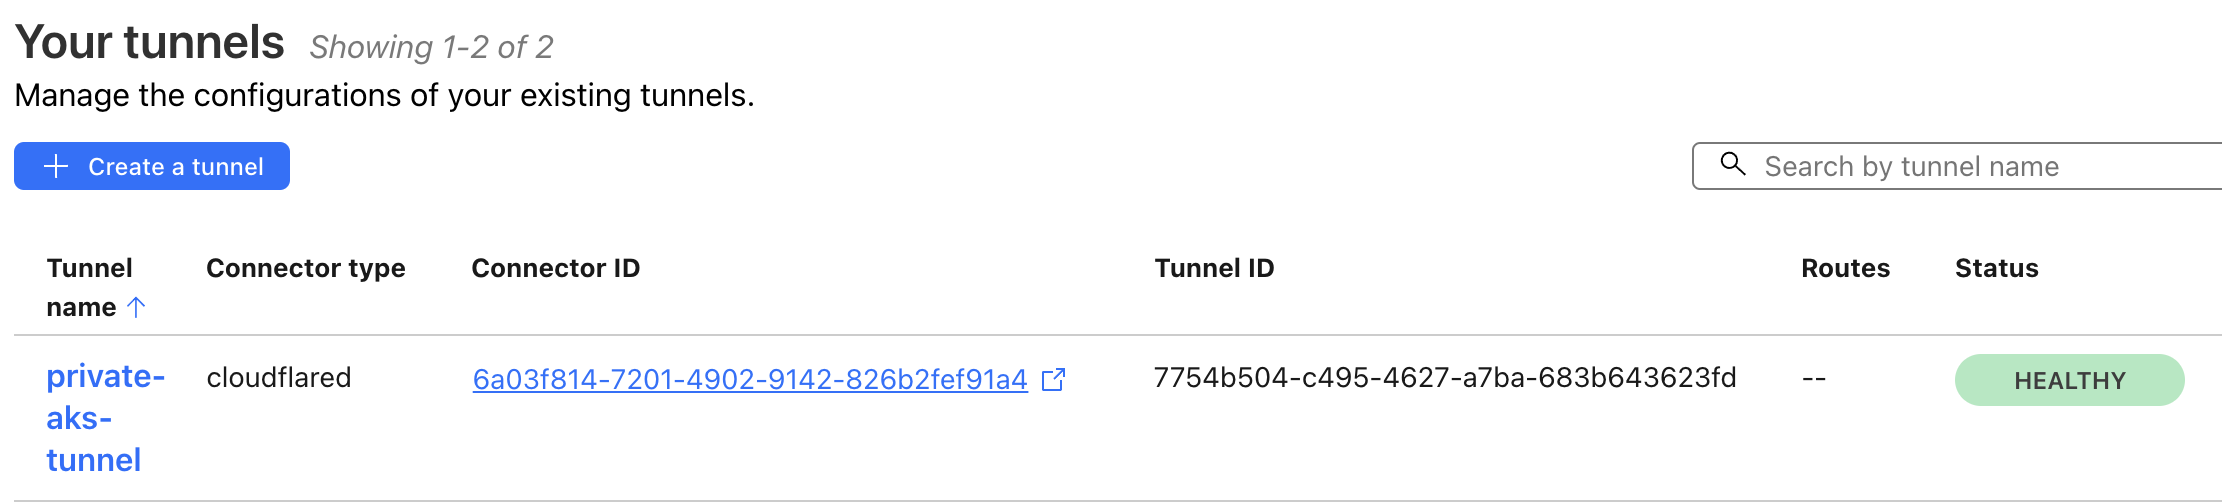
Name and Save the Tunnel
Name your tunnelprivate-aks-tunneland click Save. -
Copy Tunnel Token
Once the tunnel is created, a token will be generated. Copy the tunnel token and securely store it in Azure Key Vault as a secret namedcf-tunnel-token.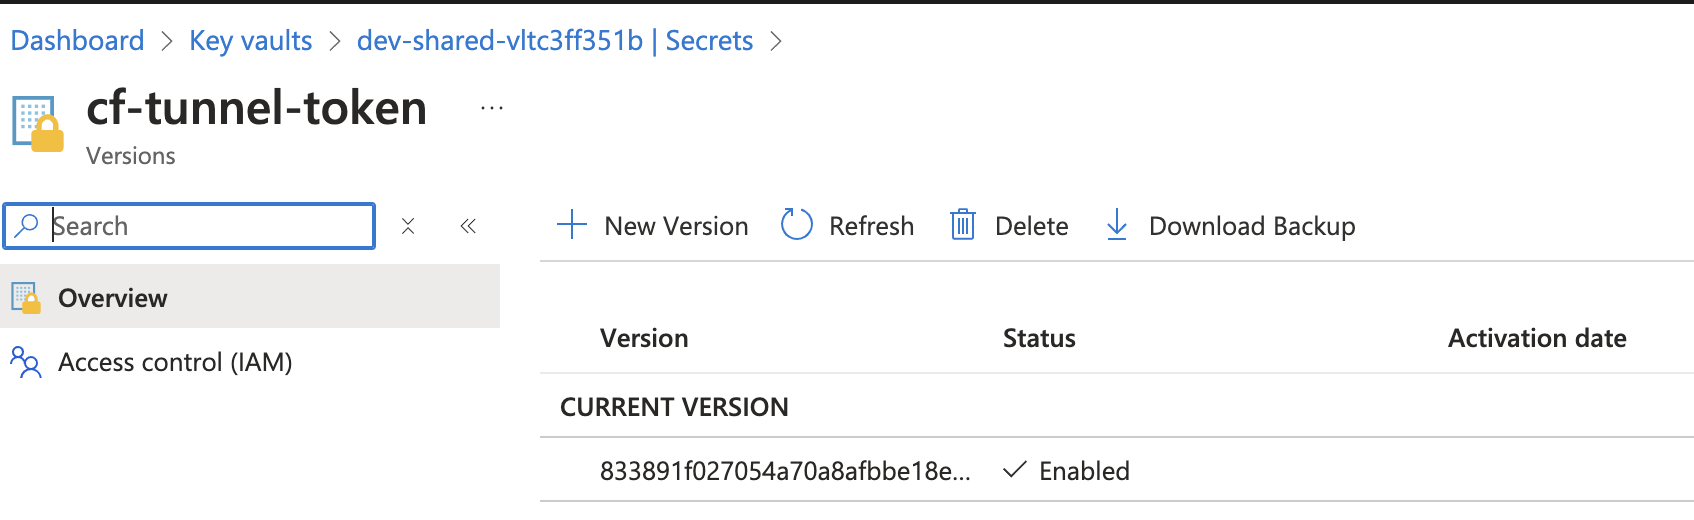
Ensure that the token is accurately stored in the Key Vault. This token will be used when deploying the
cloudflaredHelm chart.
Deploying Cloudflared with Helm
With the secure storage of the tunnel token in Key Vault, follow these refined steps to deploy cloudflared on the AKS cluster using Helm:
-
Cloudflared Chart:
I created the cloudflared Helm chart, expanding upon the previous chart template. This implementation establishes an AKS network policy that blocks inbound traffic to the namespace while allowing only the necessary outbound traffic to the internal Nginx Ingress using the private IP
192.168.31.250.View the
values-dev.yamlfile#====================cf-tunnel======================= cf-tunnel: enabled: true global: image: '${{acrName}}.azurecr.io/cloudflare/cloudflared' tag: 'latest' deployment: enabled: true replicaCount: 2 args: - tunnel - '--no-autoupdate' - run - '--token' - $(token) secrets: token: '${{cf-tunnel-token}}' resources: limits: cpu: 1 memory: 1Gi requests: cpu: 100m memory: 128Mi podSecurityContext: fsGroup: 10000 runAsUser: 10000 runAsGroup: 10000 securityContext: capabilities: drop: - ALL readOnlyRootFilesystem: true allowPrivilegeEscalation: false runAsNonRoot: true #====================enable network rule======================= network: enabled: true cidrs: - '192.168.31.250/32' - '192.168.32.128/27' ports: - 443 - 80 - 22 -
Cloudflared Deployment Pipeline:
This pipeline mirrors the previous pipeline, with an additional enhancement to directly retrieve secrets from the Key Vault, bypassing the need for a Variable Group.
View the
network-rule.yamlfile{{- if .Values.network.enabled }} apiVersion: networking.k8s.io/v1 kind: NetworkPolicy metadata: name: '{{ include "app.fullname" . }}-network-policy' spec: podSelector: {} policyTypes: - Ingress ingress: [] egress: - to: - {{- range $cidr := .Values.network.cidrs }} ipBlock: cidr: {{ $cidr }} {{- end }} ports: {{- range $p := .Values.network.ports }} - port: {{ $p }} protocol: TCP {{- end }} {{- end }}
Important:
- To optimize the Cloudflare Tunnel’s outbound operations, adjust the AKS firewall settings in accordance with Cloudflare’s recommendations.
- These settings are required for the tunnel’s ability to establish and maintain effective communication with Cloudflare servers, handling inbound requests seamlessly.
Deploying the Cloudflare Tunnel
-
Create a new pipeline named
cf-tunnel-helmwith thecf-tunnel-helm.azure-pipelines.ymlfile, enabling the deployment of this Helm chart to AKS.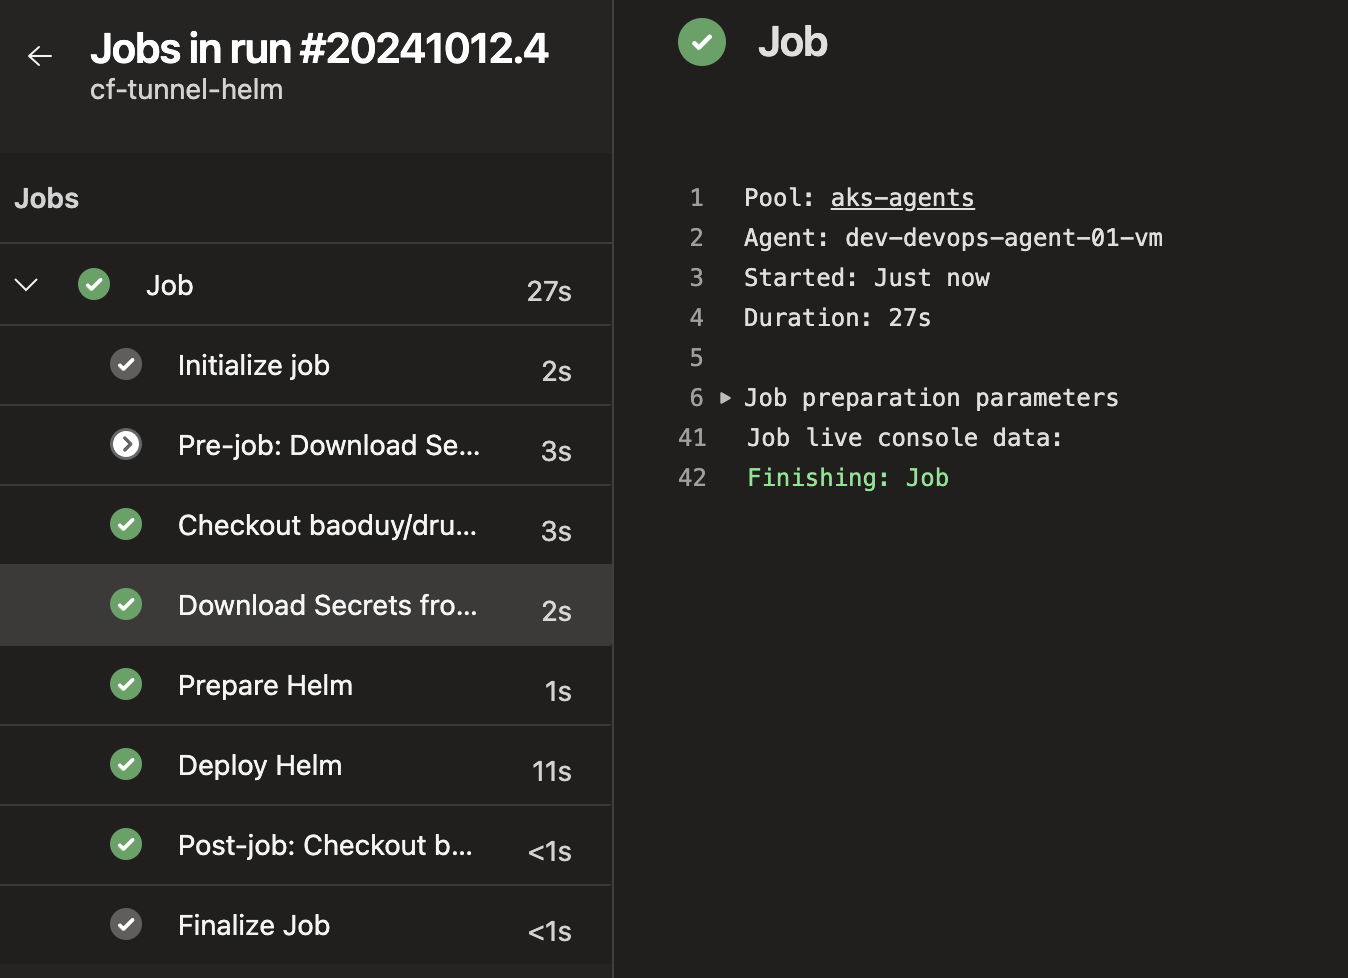
-
Once deployment is successful, the Cloudflare Tunnel pods should be running within the
cf-systemnamespace.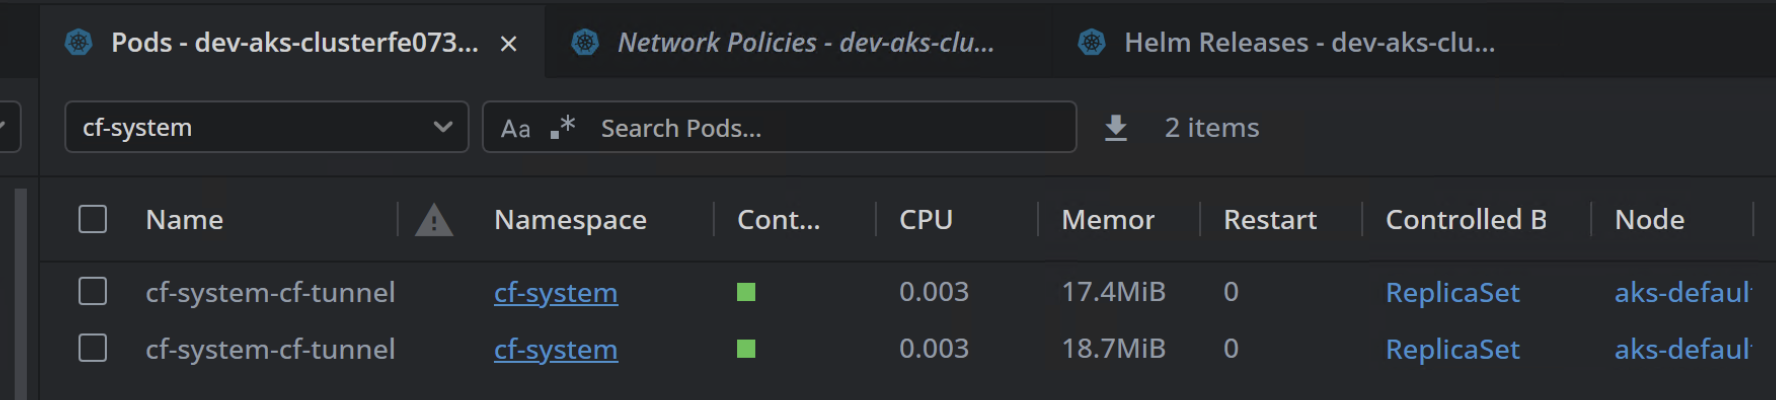
-
Return to the Cloudflare Zero Trust dashboard to verify the tunnel status, which should display as healthy.
Exposing the Application
With all preparations complete, we can now expose the application to the internet follow these steps:
-
Go to the Cloudflare Tunnel created previously and click “Edit.”
-
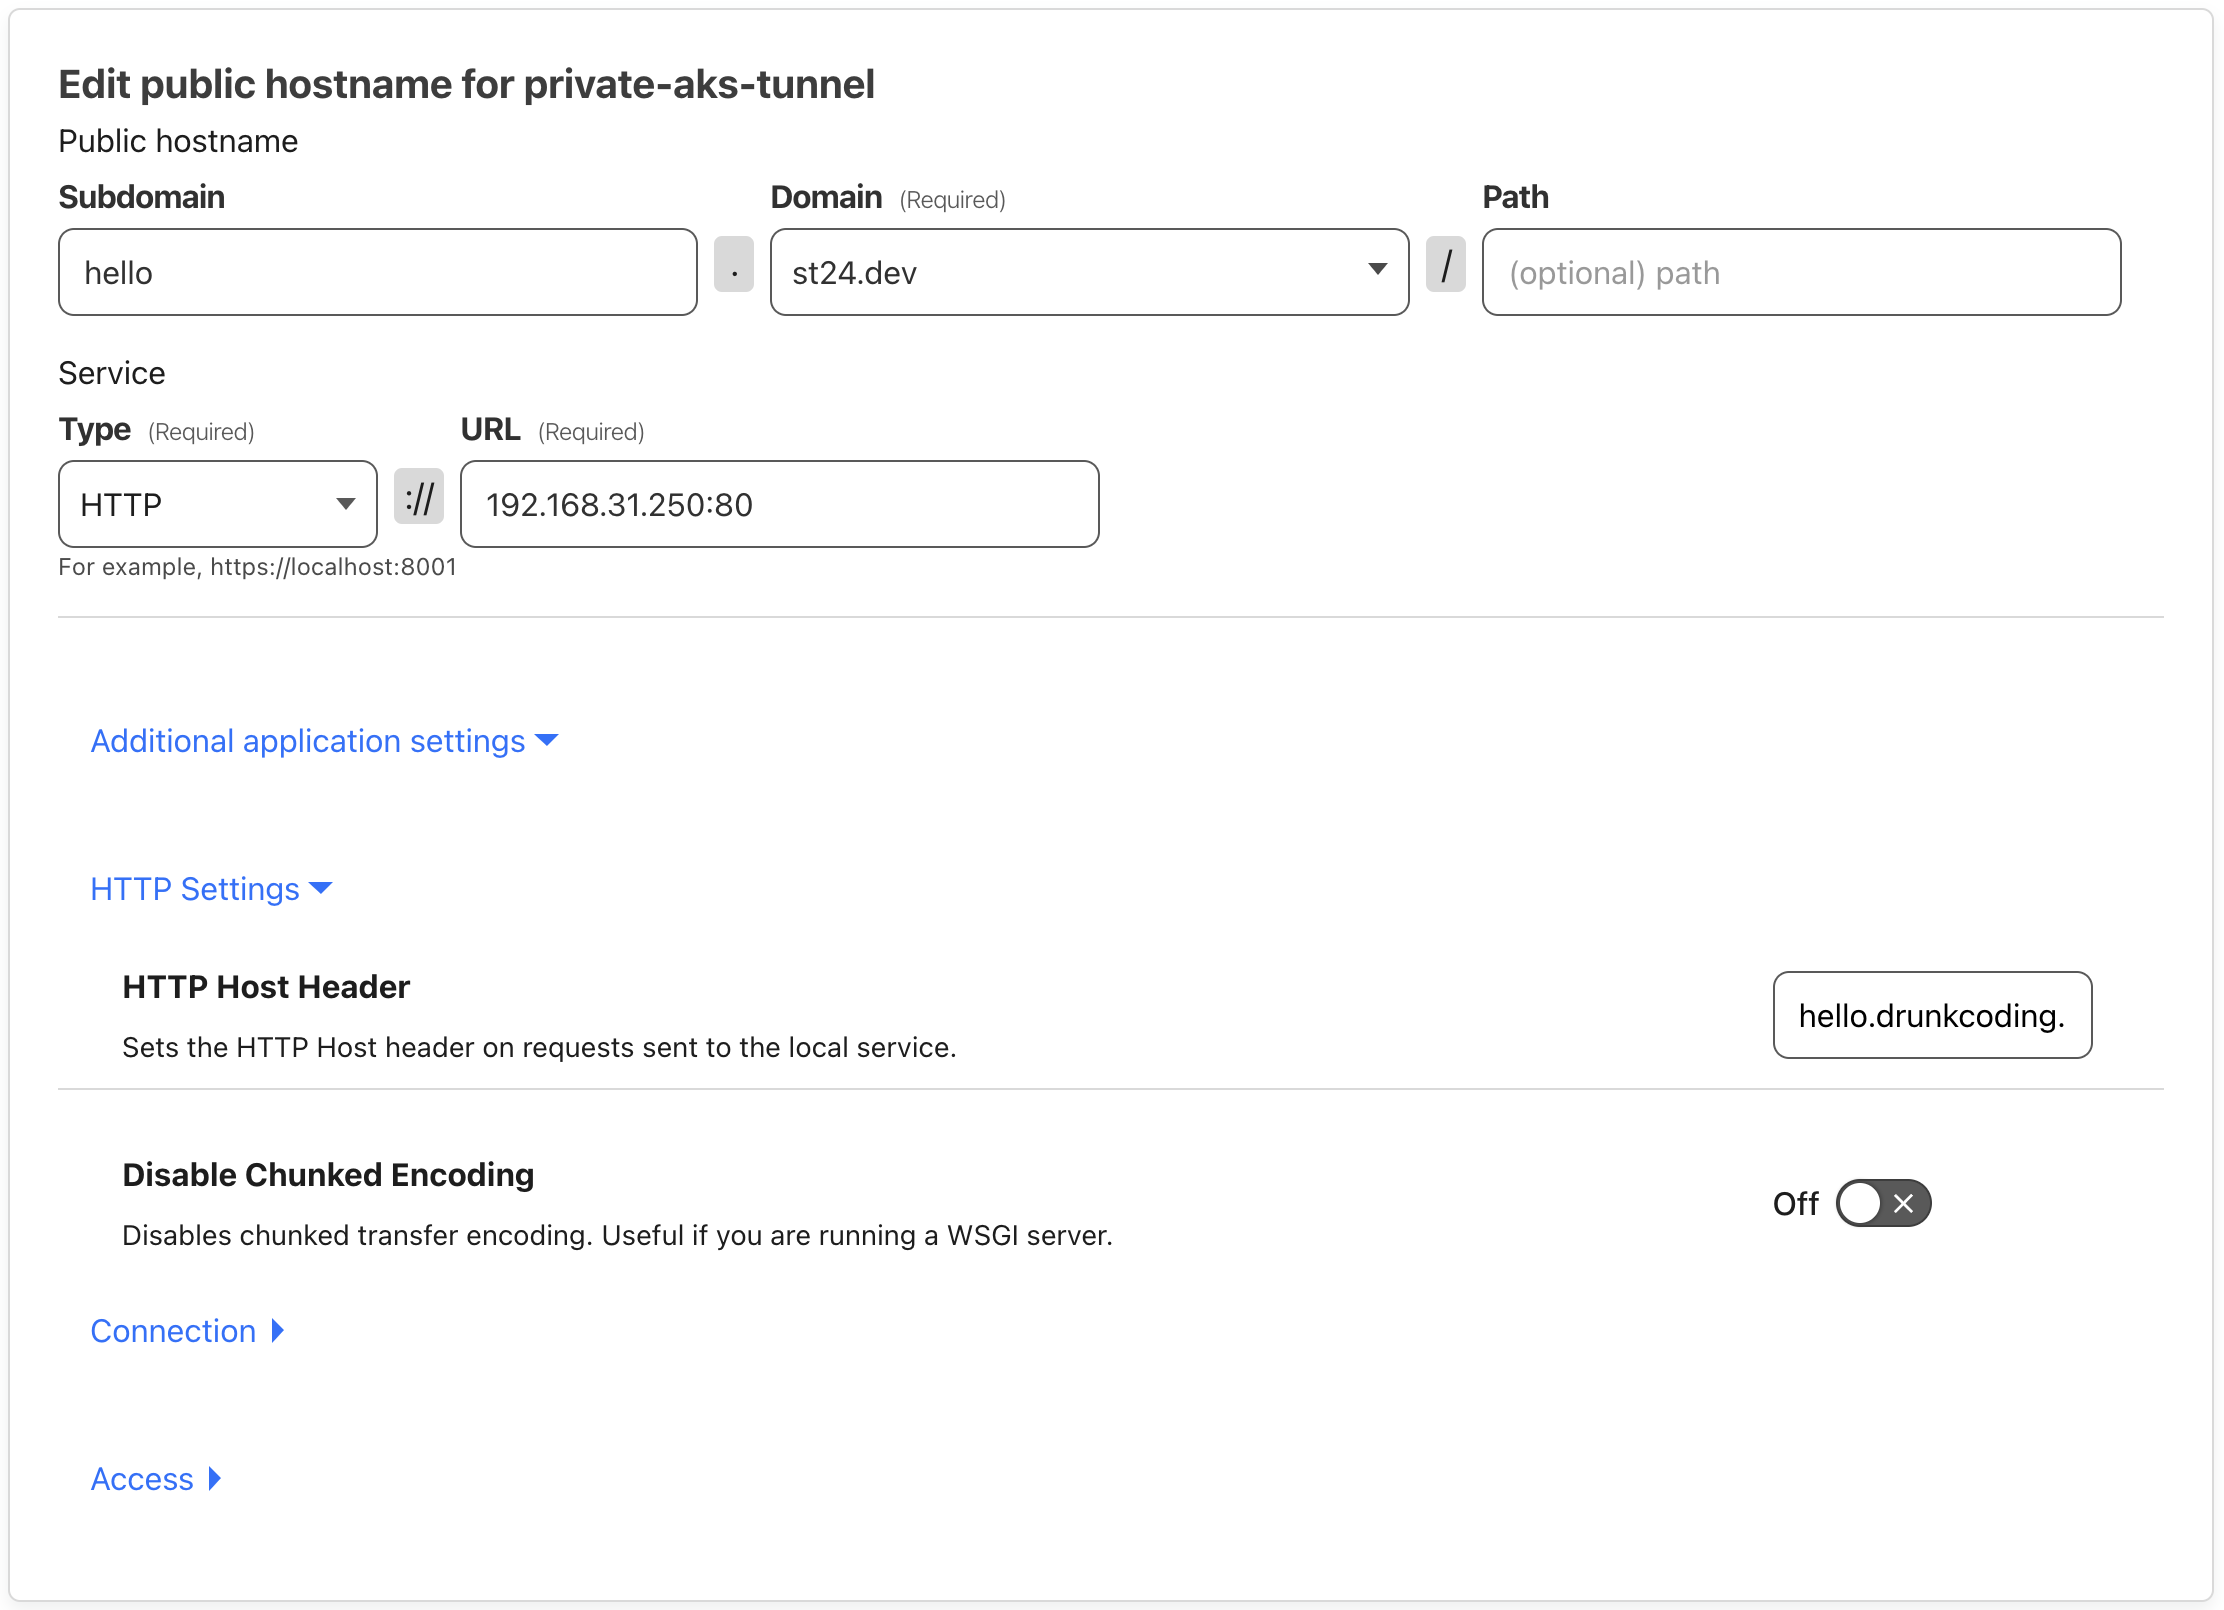
Navigate to the “Public Hostname” section and configure it as follows:
- Subdomain: The subdomain of the app. in this example,
hellois used. - Domain: Choose any available domain; in this example,
st24.devis used. - Service Type: HTTP
- URL: Enter the internal Nginx ingress IP address and application port, e.g.,
192.168.31.250:80. - HTTP Host Header: This should match the internal ingress domain associated with the application, e.g.,
hello.drunkcoding.net.
- Subdomain: The subdomain of the app. in this example,
-
Save the configuration. After saving, The application should be able to access publicly via
hello.st24.dev.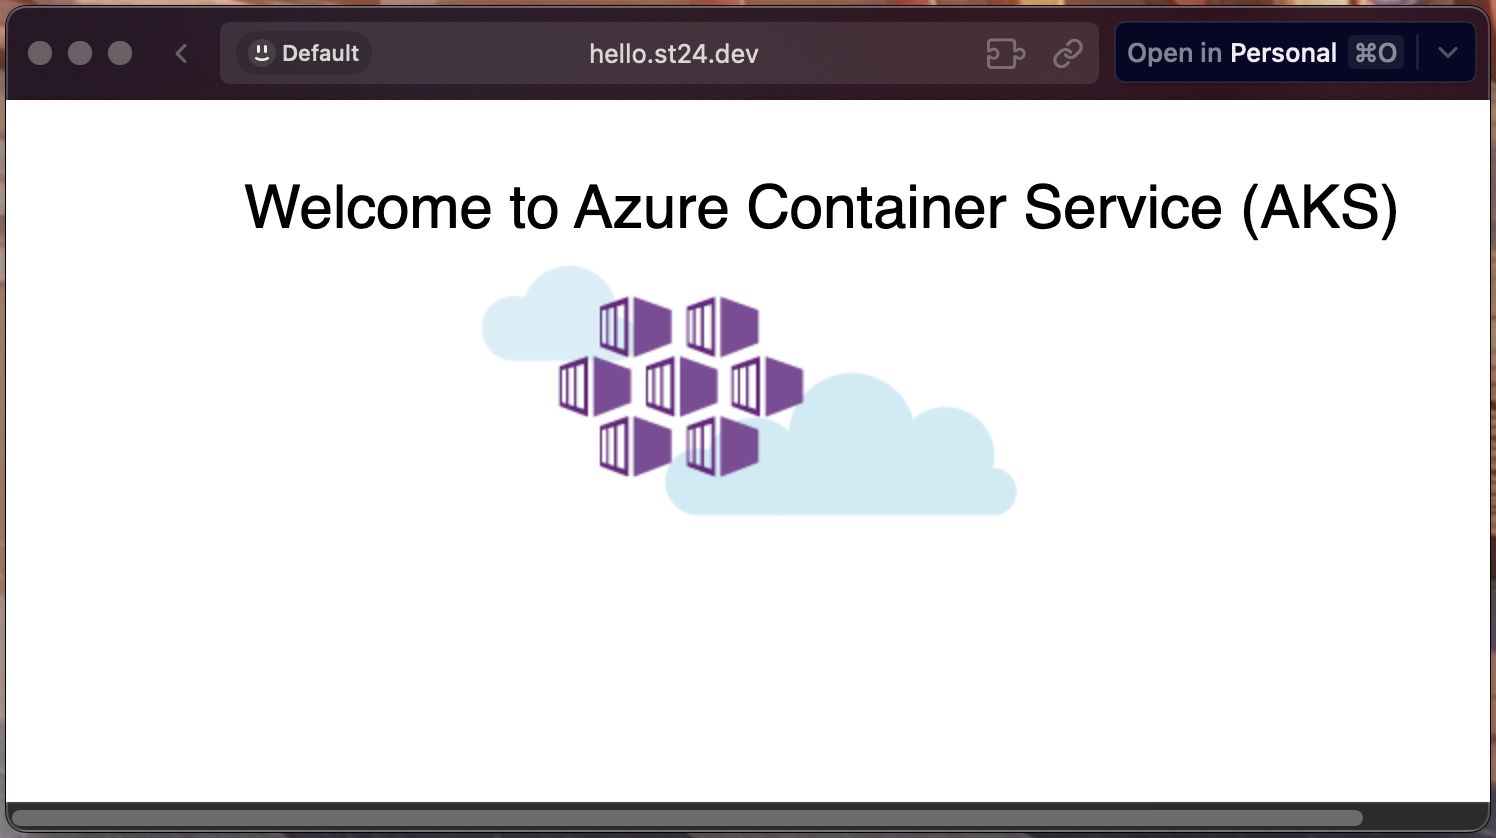
Securing the Application with Authentication
Once the application is exposed to the internet, it becomes accessible to everyone, posing security concerns. To enhance security, we need to restrict access to authorized personnel only, such as company staff or specific group members. Cloudflare provides a robust solution for securing applications accessible via tunnels.
Configuring Cloudflare SSO with EntraID
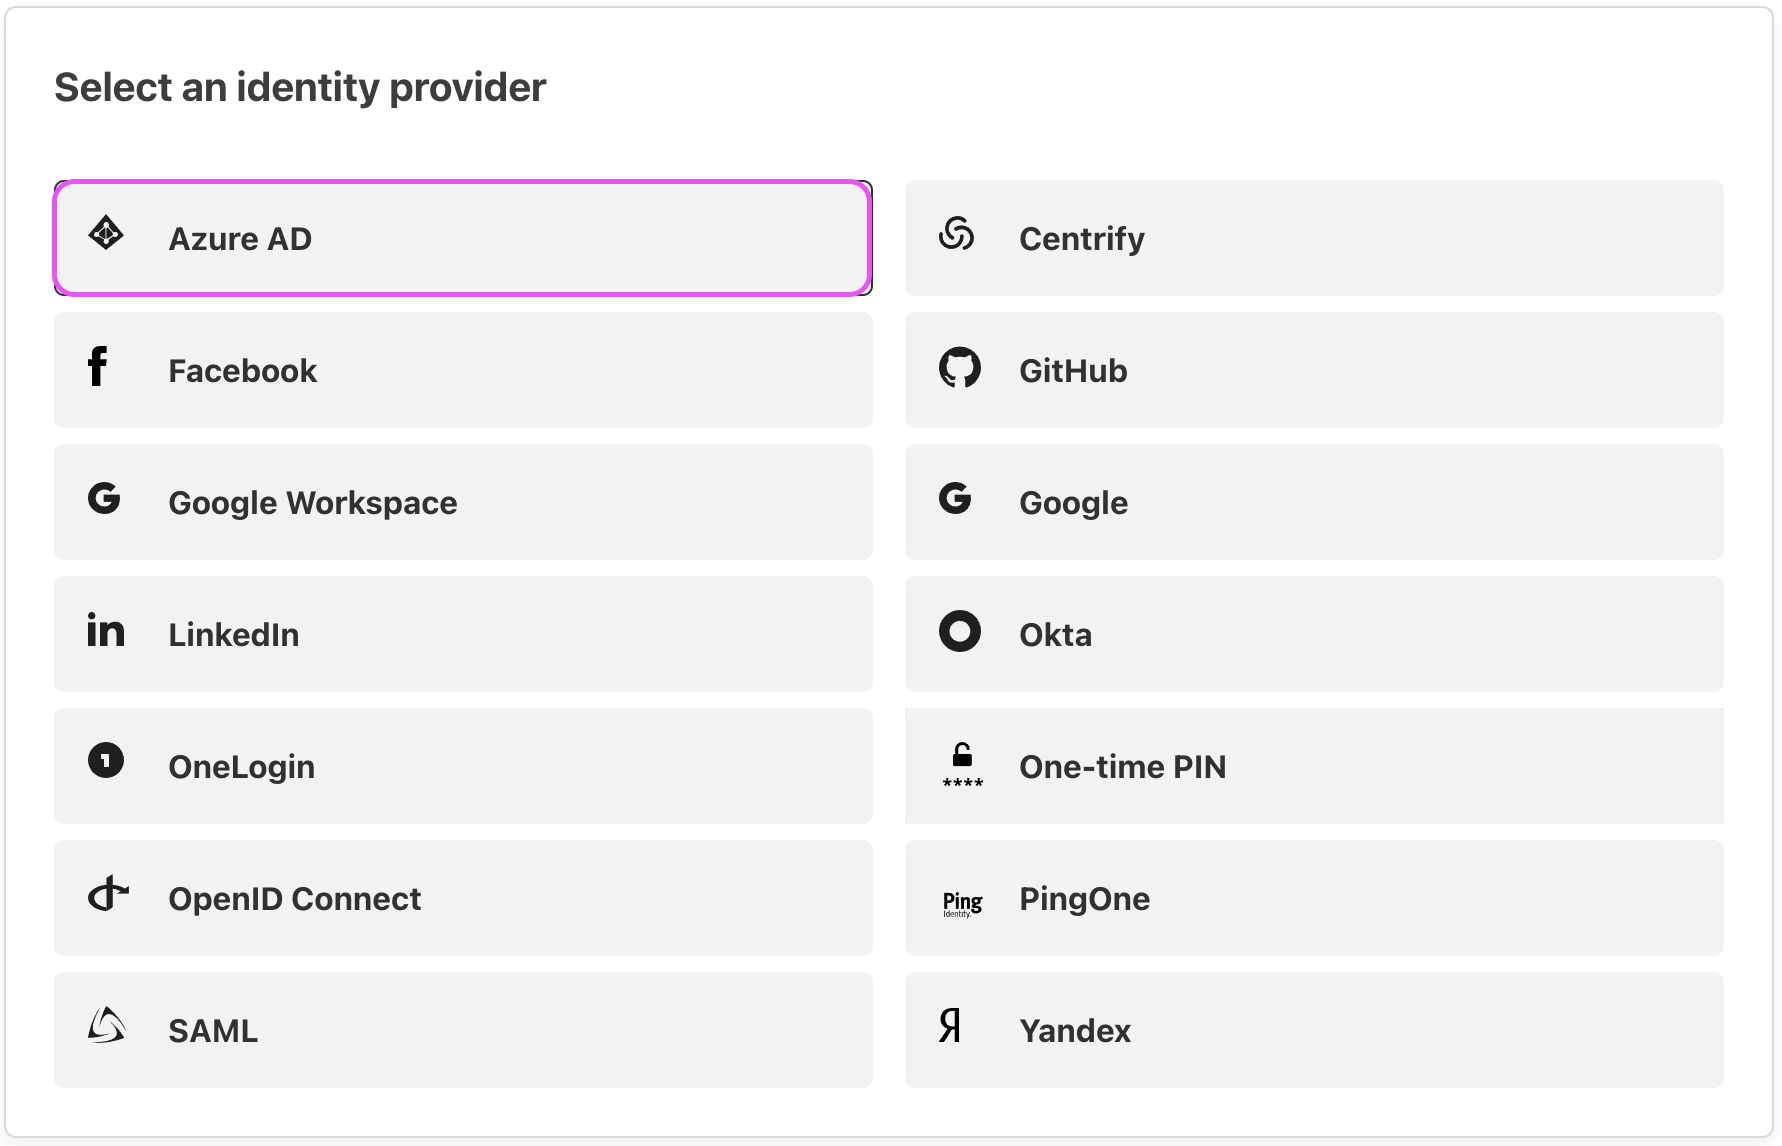
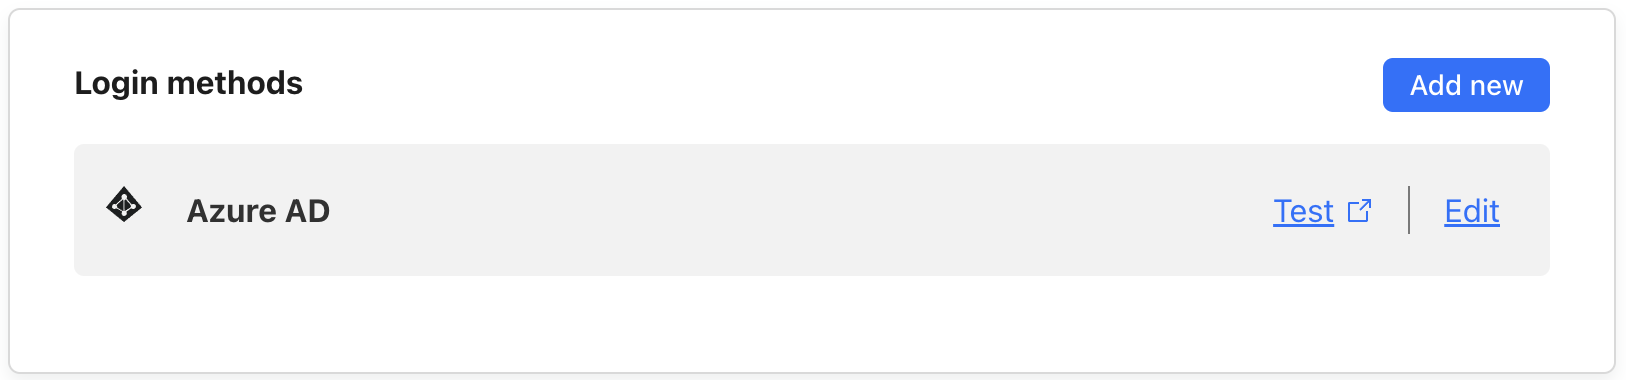
First, logging into the Cloudflare Zero Trust dashboard, Navigate to Settings > Authentication, and select “Add New” under the Login methods section.
-
Login providers: Cloudflare offers multiple login providers; choose Azure AD for this configuration.
-
EntraID SSO: Follow the provided instructions to integrate Azure AD (EntraID) authentication.
-
Verification: Test the configuration to verify that authentication can successfully retrieve the
nameandidof EntraID groups.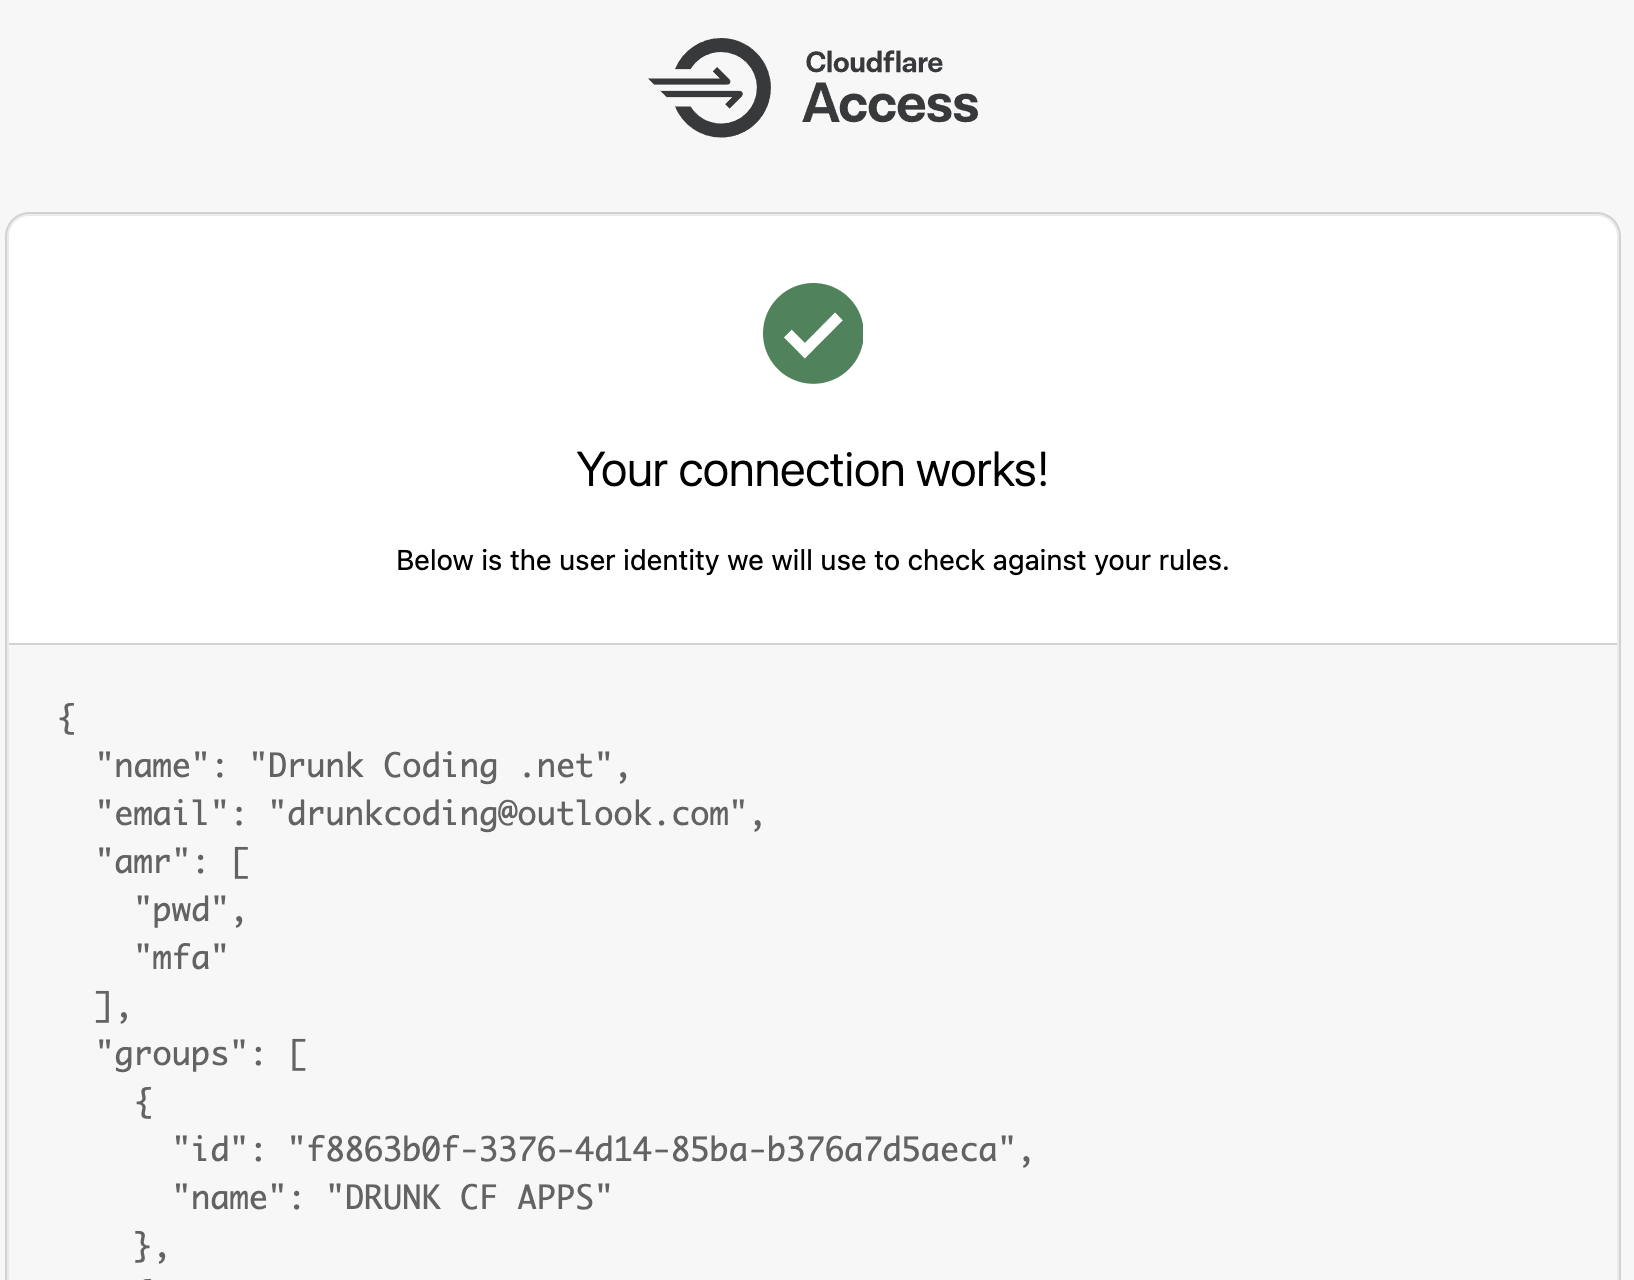
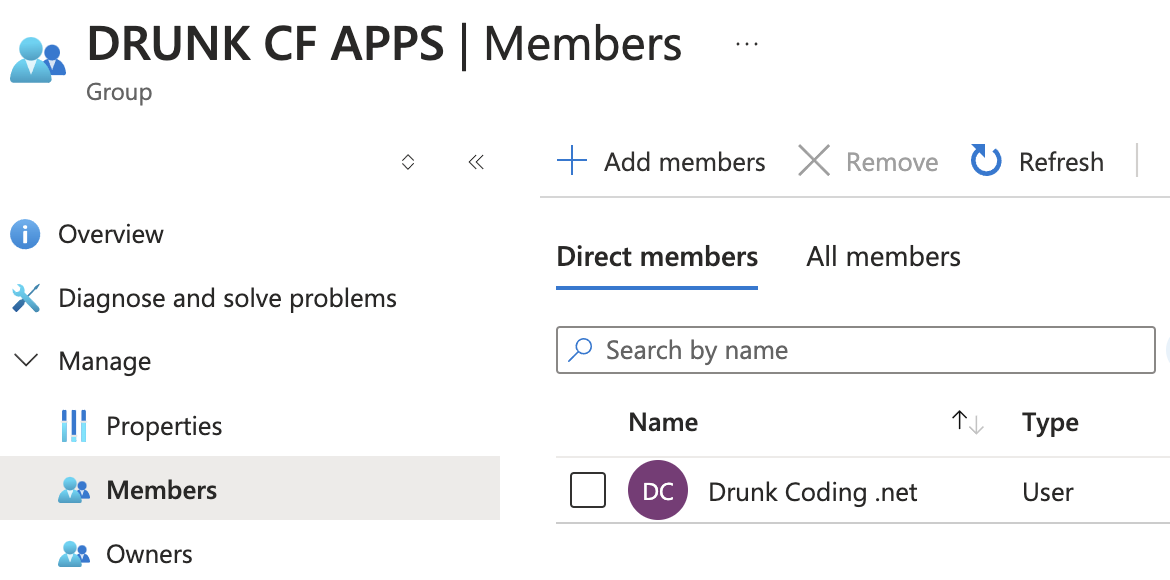
Creating a New EntraID Group
Next, log into the Azure Portal and create a new EntraID group named DRUNK CF APPS with the ID f8863b0f-3376-4d14-85ba-b376a7d5aeca. This group will be used to control access to the exposed application.
The hello App Access Policy
Finally, return to the Cloudflare Zero Trust dashboard and go to Access > Applications. Click “Add an Application” and select the Self-hosted type.
-
App Configuration: Ensure the domain matches the application you wish to protect. In this example, we’ll protect the
hello.st24.devapplication previously exposed.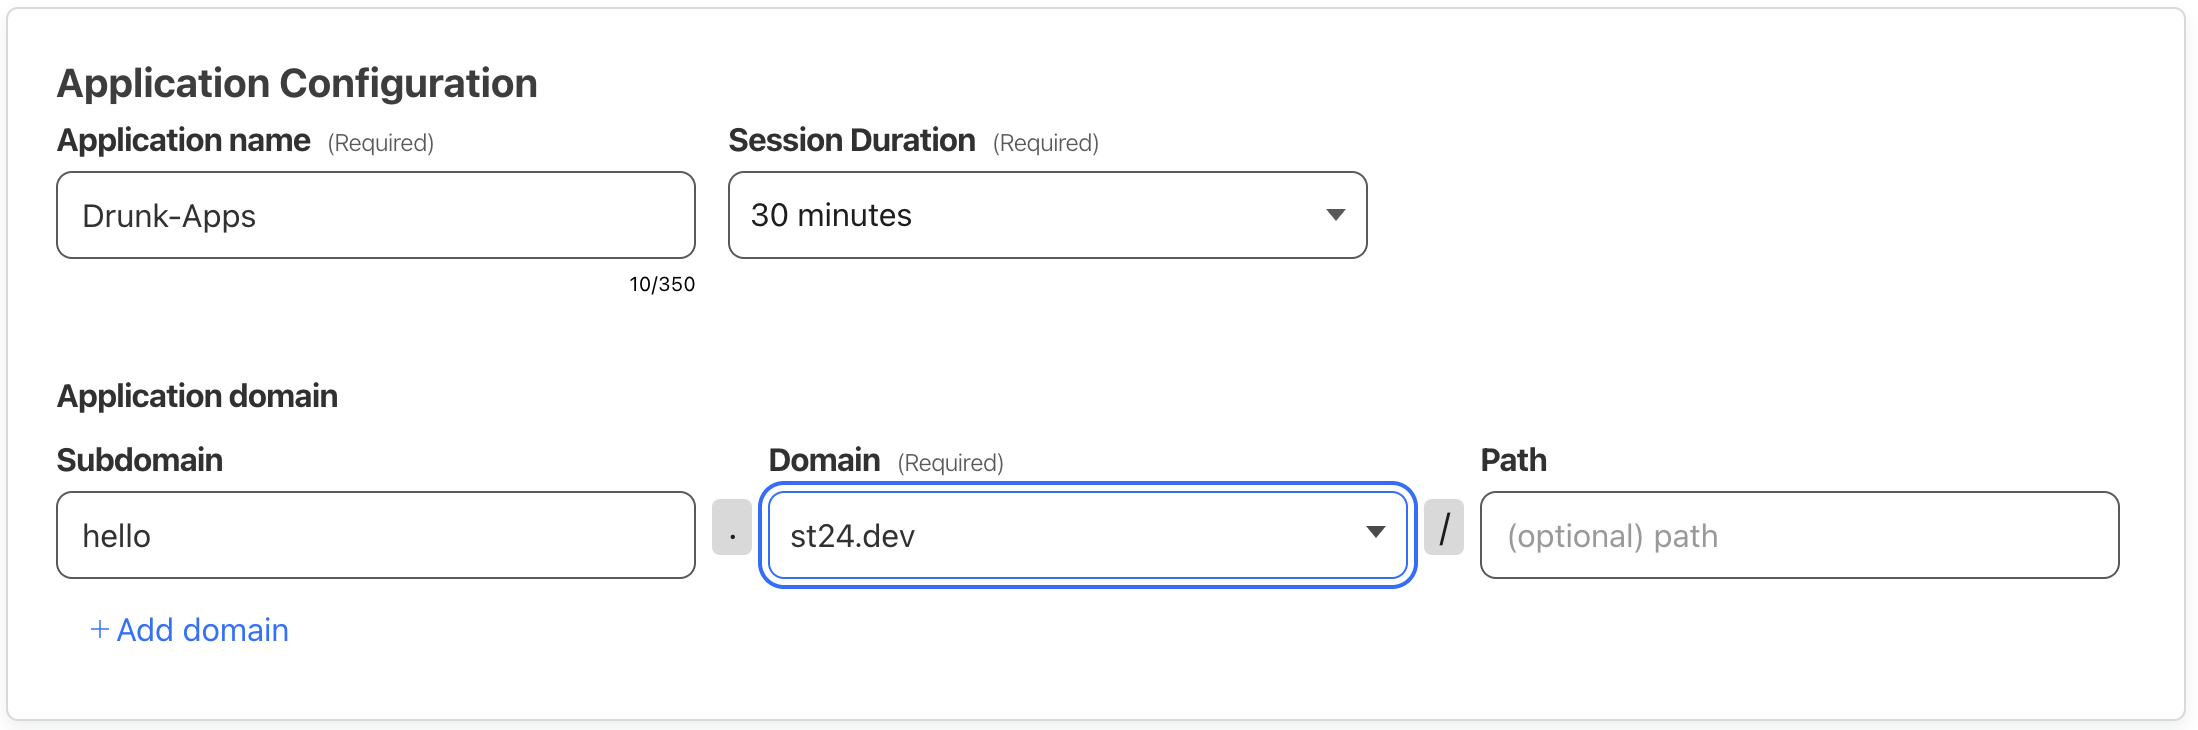
-
App Identity: Choose the login provider configured earlier.
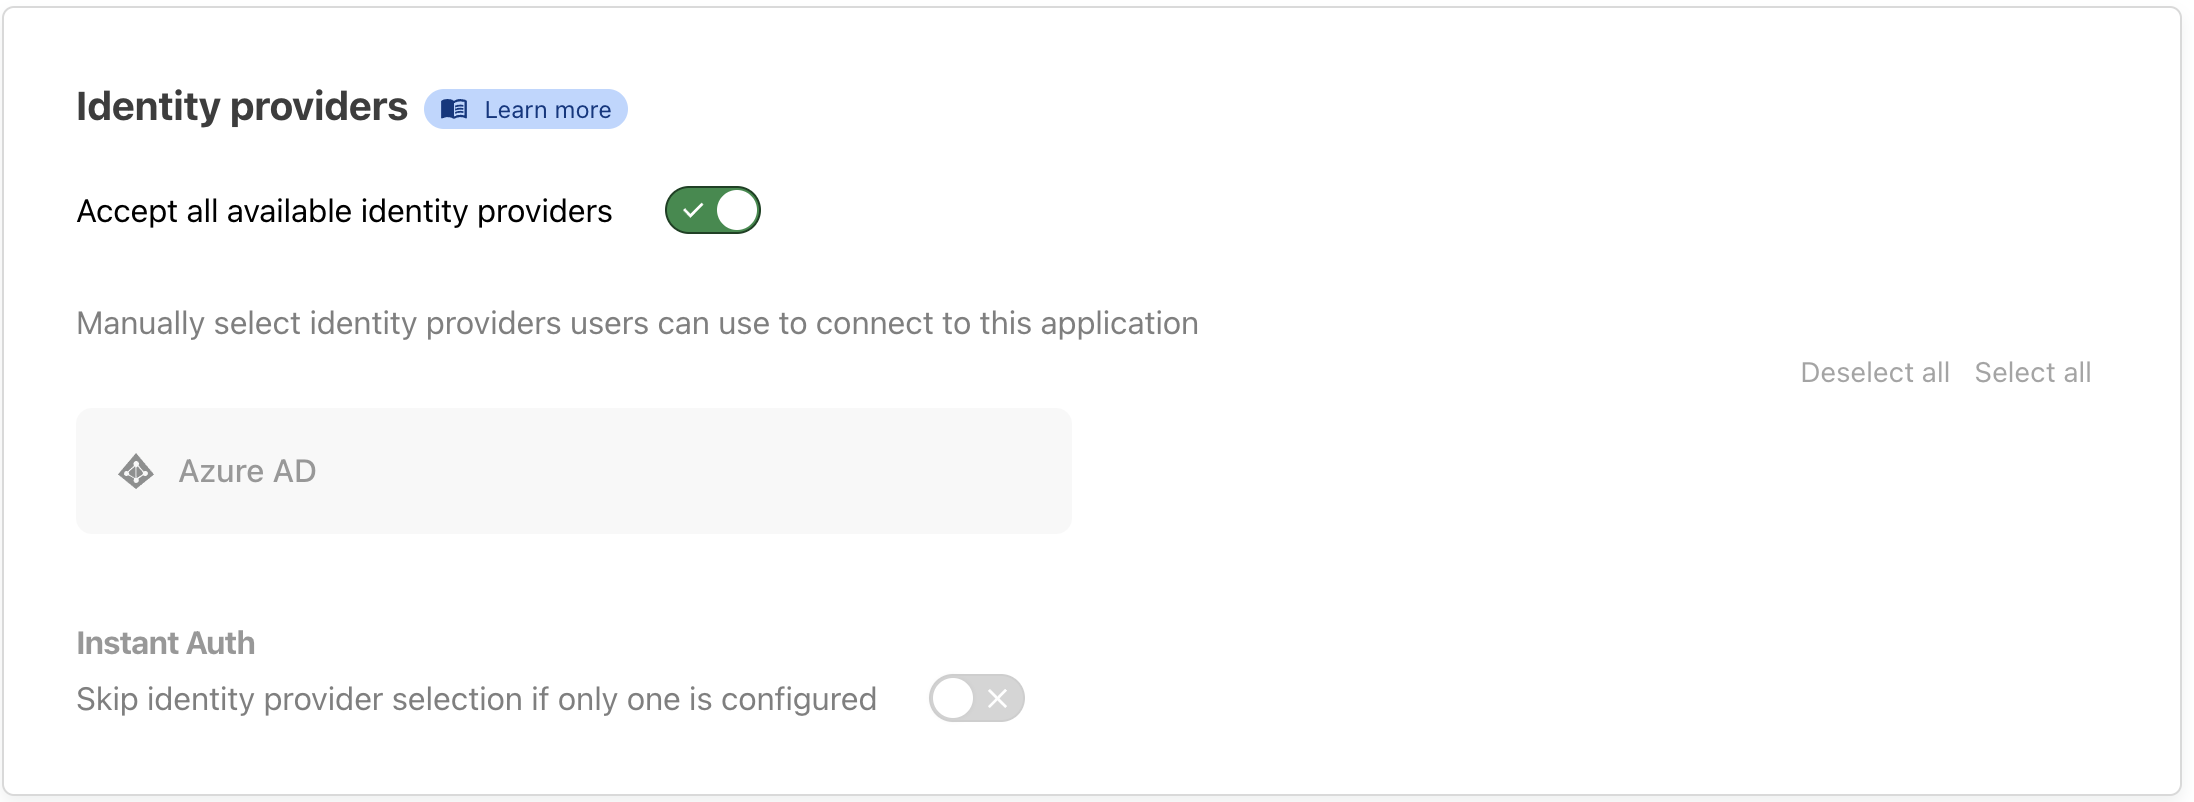
-
App Policy: Configure a policy that requires authentication via required provider and restricts access to users in the specified EntraID group ids.
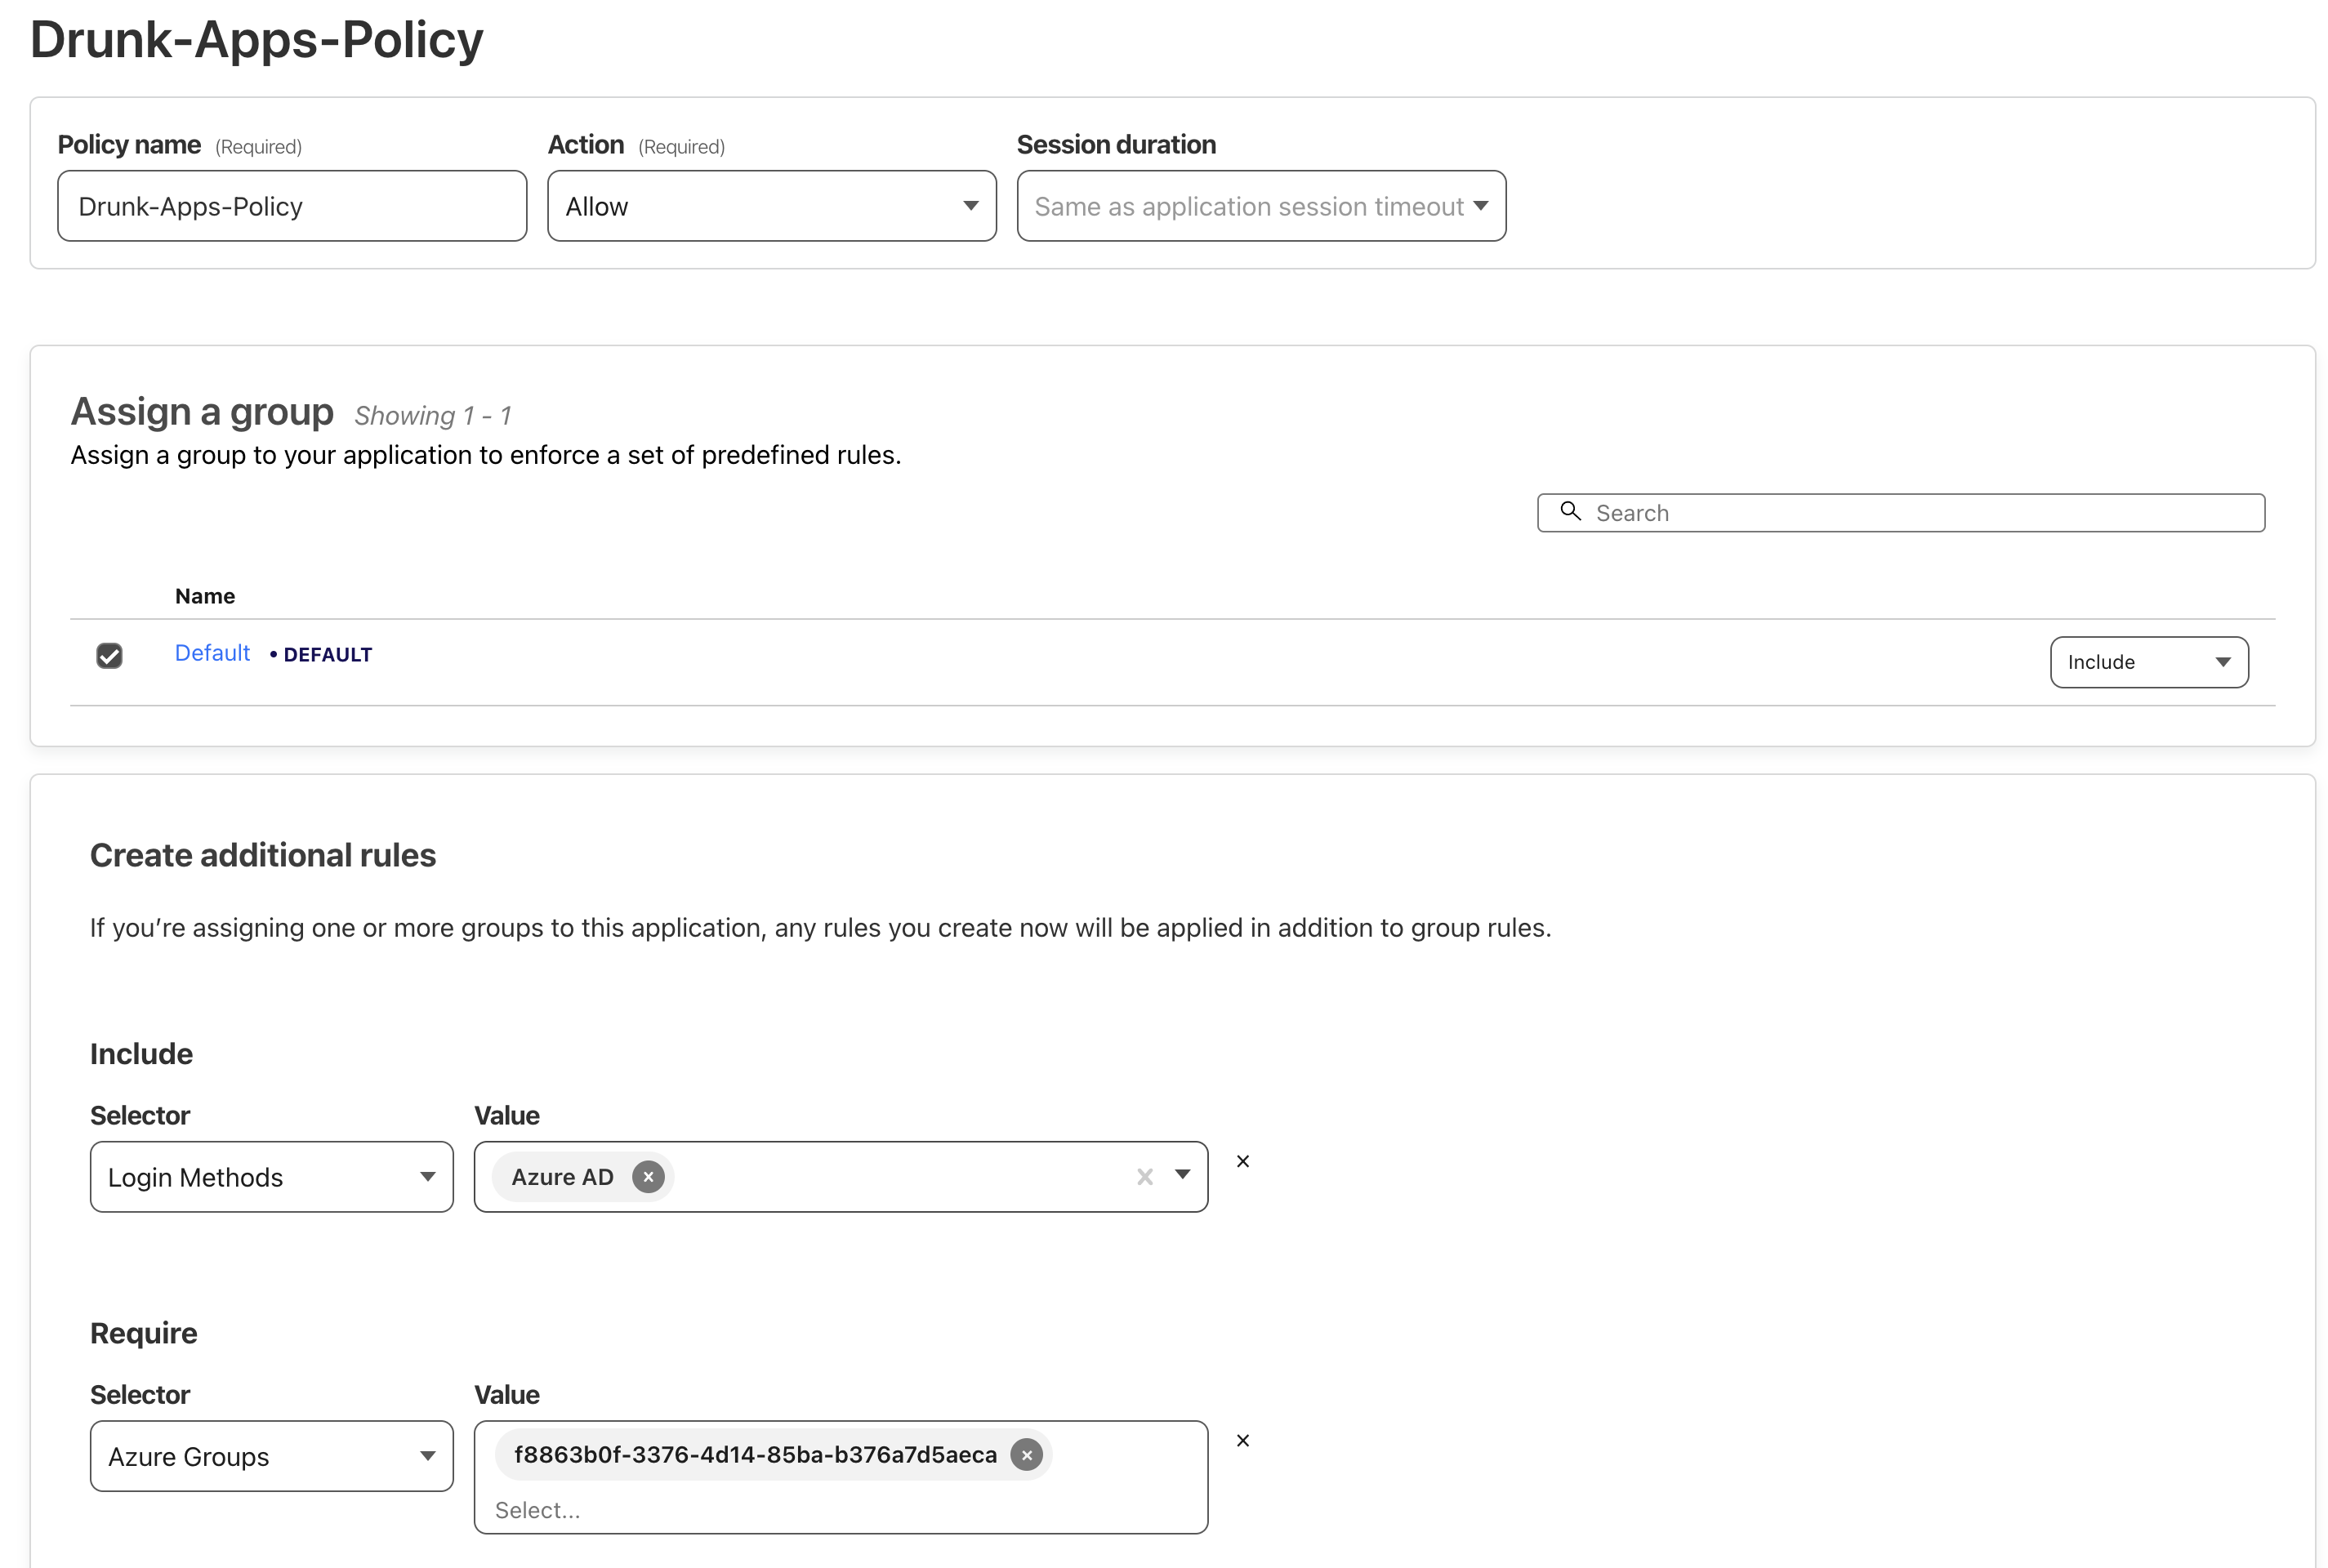
The list of permitted Azure Groups should include the EntraID Group IDs that are allowed access to this app. Without this configuration, the app would be accessible to anyone with an EntraID account in the organization.
-
Testing the App Policy: After creating the application, click “Test Your Policy” to ensure it functions as intended using a specific account.

Accessing the Protected App
-
Visit
hello.st24.dev, and We should encounter a login dialog requesting Azure AD authentication before accessing the application.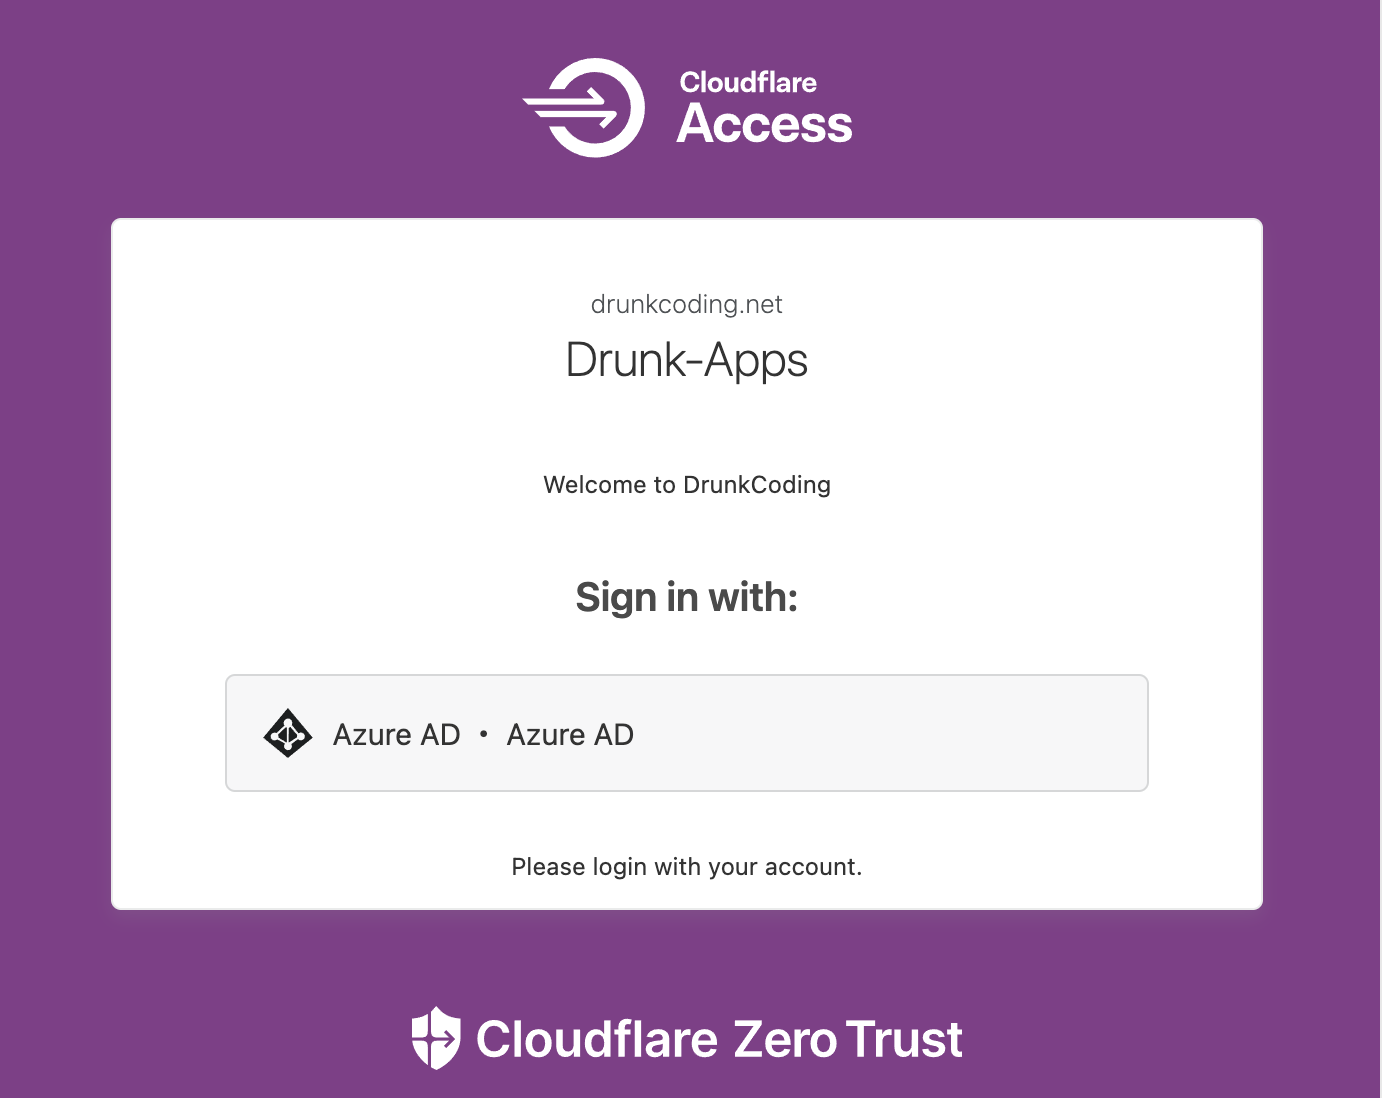
-
After logged in, users will gain normal access to the application.
Conclusion
In this guide, we’ve explored how to securely expose an application running on a private AKS cluster to the internet without relying on public IP addresses or open ports. By leveraging Cloudflare Tunnel, we established a secure outbound-only connection that adheres to stringent security policies. This method eliminates the risks associated with inbound internet access while providing a seamless way to make internal services accessible externally.
We also implemented Cloudflare Access integrated with Azure Entra ID Single Sign-On (SSO) to add an authentication layer to all exposed applications. This integration ensures that only authorized users within your organization can access the applications, enhancing security by centralizing access control through Entra ID Groups. By doing so, we simplified user management and strengthened compliance with organizational policies.
This approach not only maintains the security integrity of your infrastructure but also offers a scalable solution for exposing multiple applications securely. It demonstrates how modern cloud services can be combined to meet complex security requirements without compromising accessibility or user experience.
Reference
Next
Day 12: Exposing a Private AKS Application via Cloudflare Tunnel.
In the next and final tutorial, We’ll discover how to safely expose the private AKS cluster and applications to the internet with Cloudflare. It’ll delve into the benefits of using Cloudflare Tunnel and WARP, exploring alternative ways to provide secure access while maintaining the integrity of the corporate network.
Thank You
Thank you for taking the time to read this guide! We hope it has been helpful. Feel free to explore further, and happy coding! 🌟✨
Steven | GitHub